

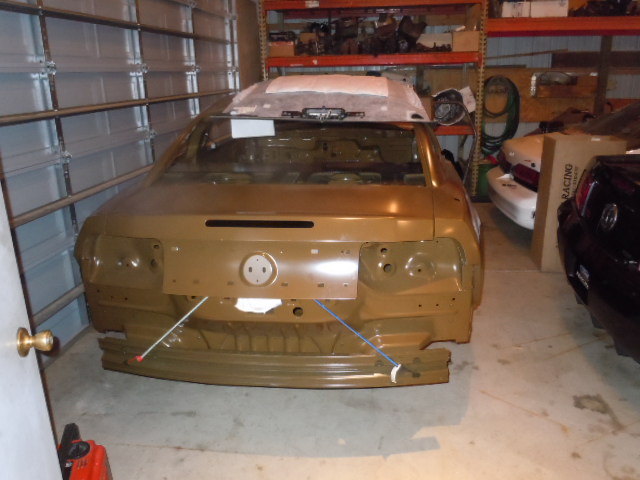
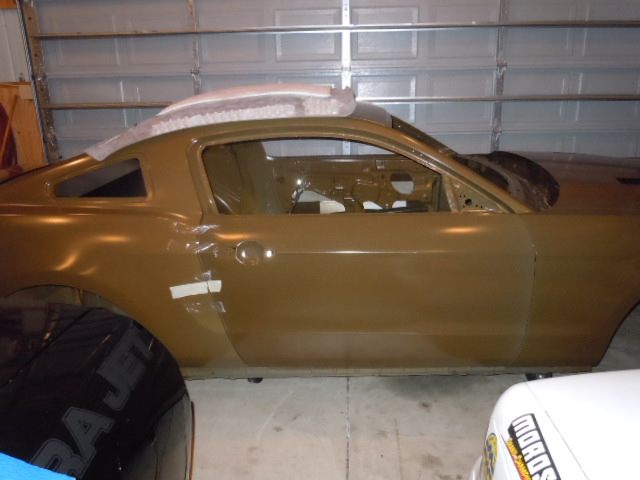
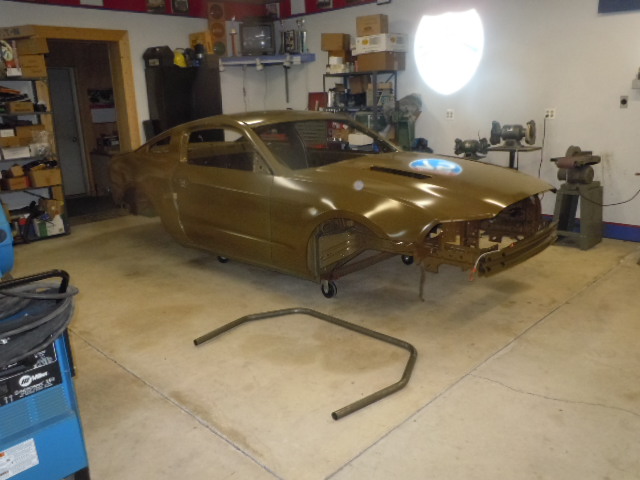
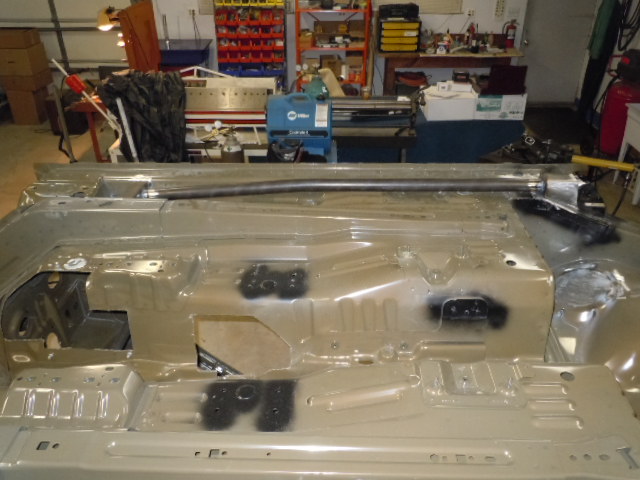
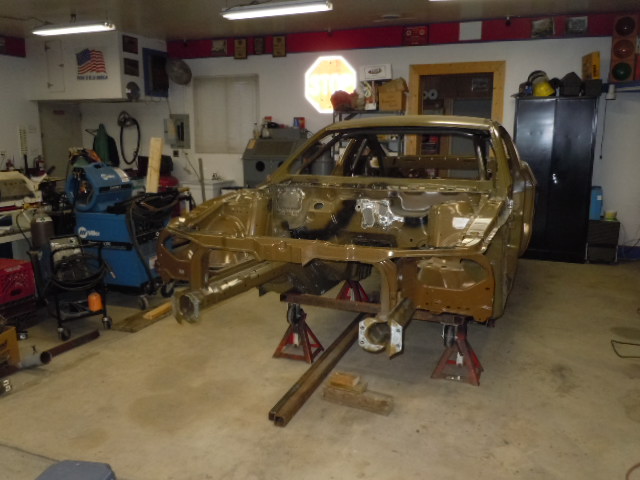
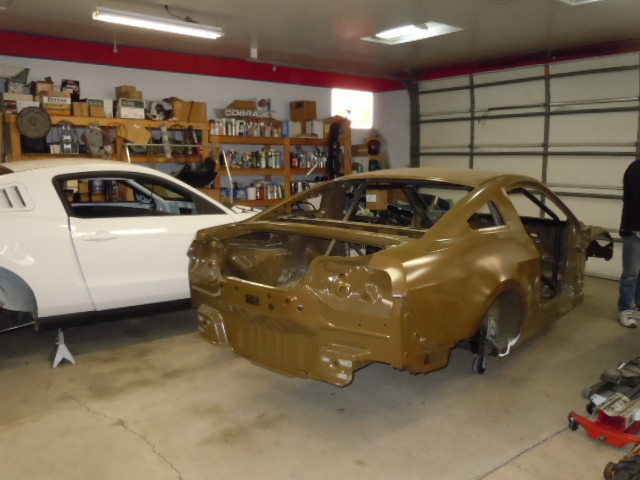
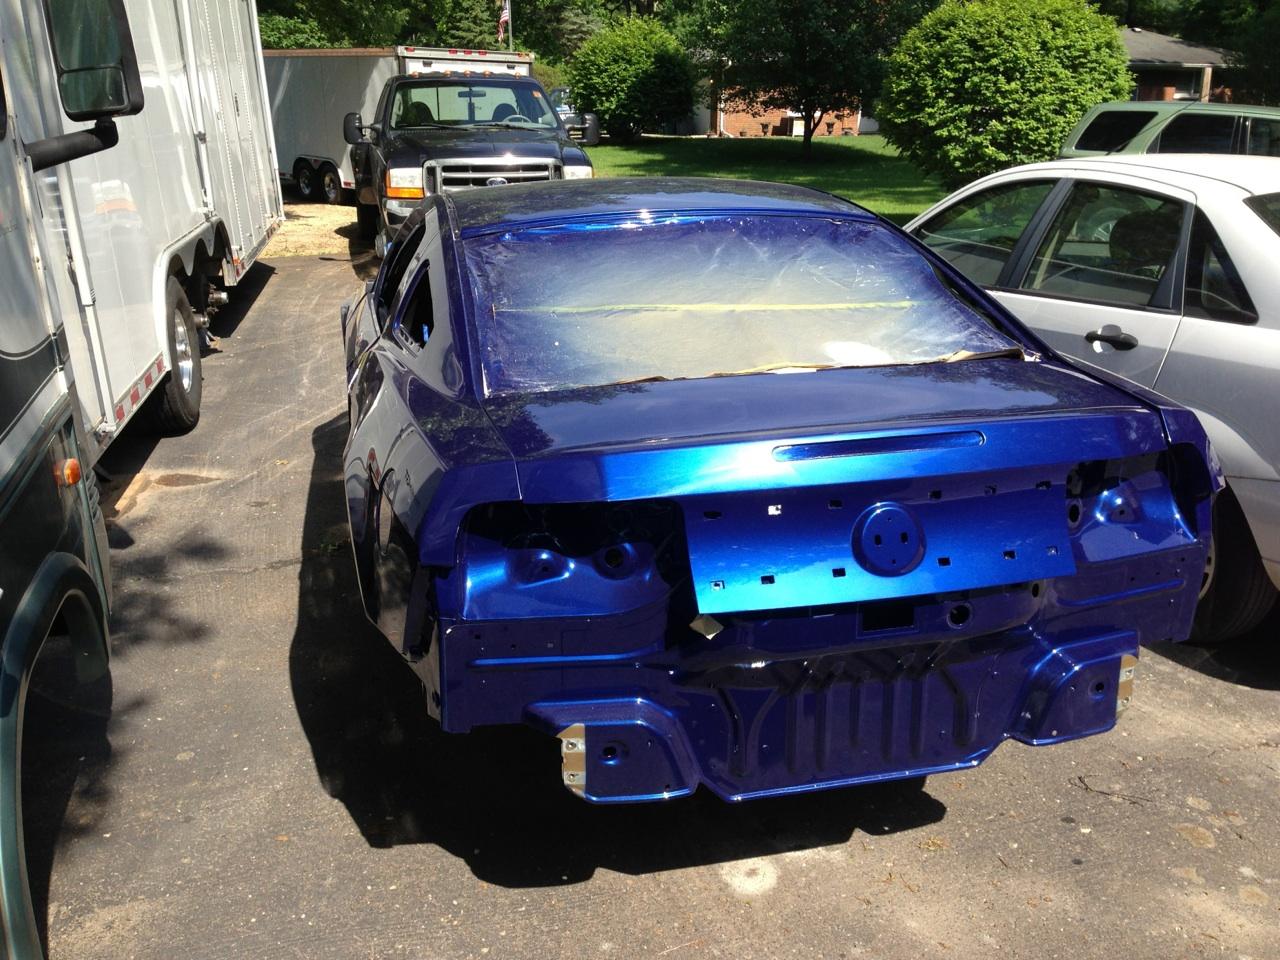
I am building a Cobra Jet Body In White Kit with a 2012 Naturally Aspirated 5.0L Coyote combination for NHRA FS/H. This project was put aside for about a year and a half because of other projects. I just recently began to install the roll cage in the body.
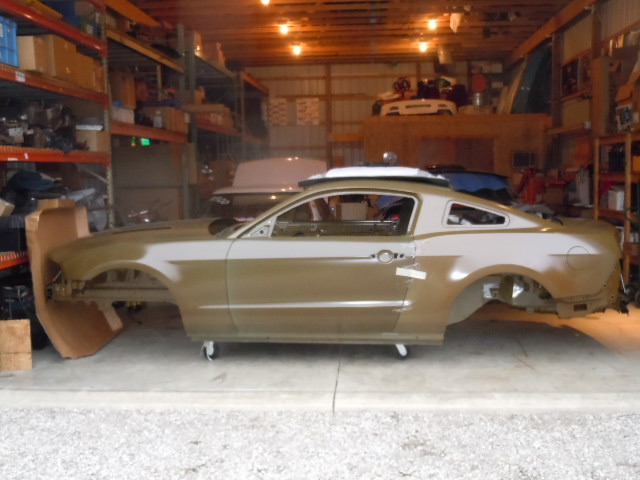
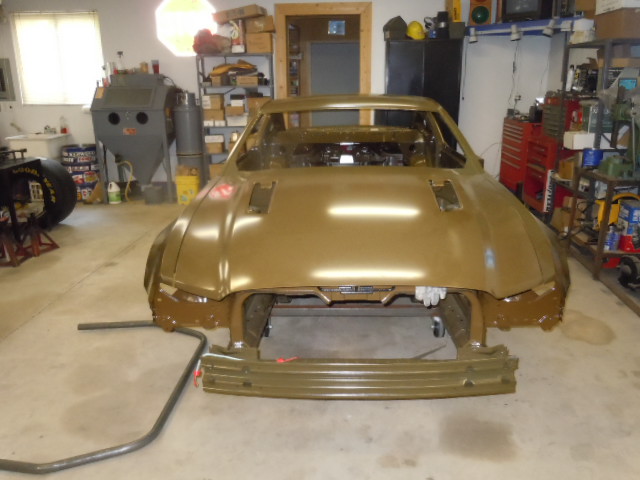
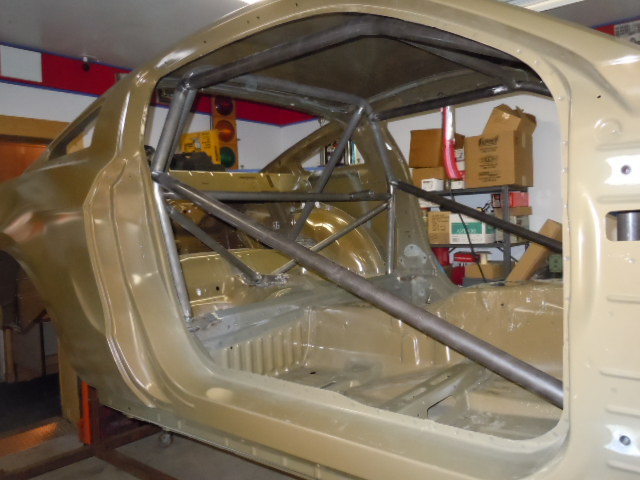
George Wright's body in white Cobra Jet Mustang.
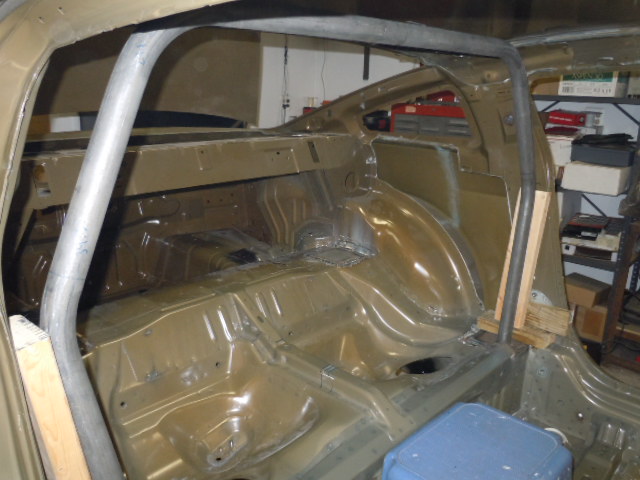
Next in line for full roll cage.
In the shop, ready to start fabrication.
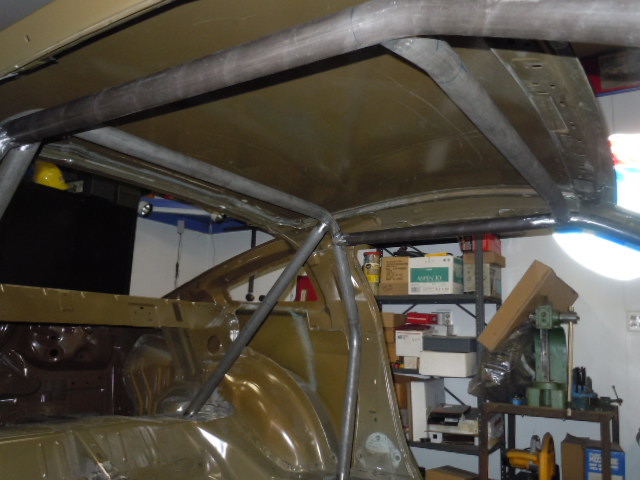
Main hoop was bent several months ago when bending bars for Egan's Cobra Jet.
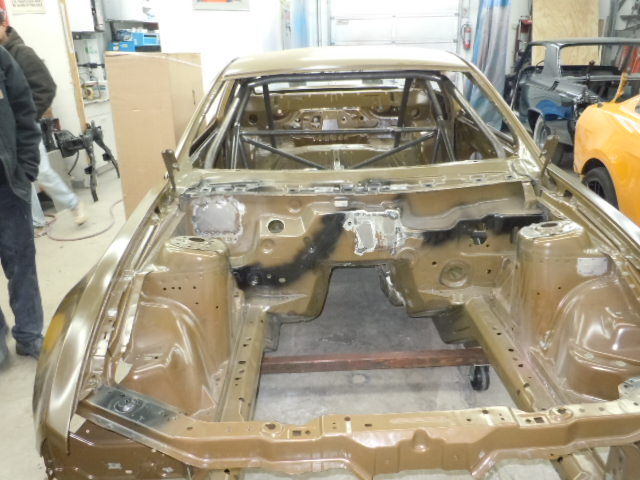
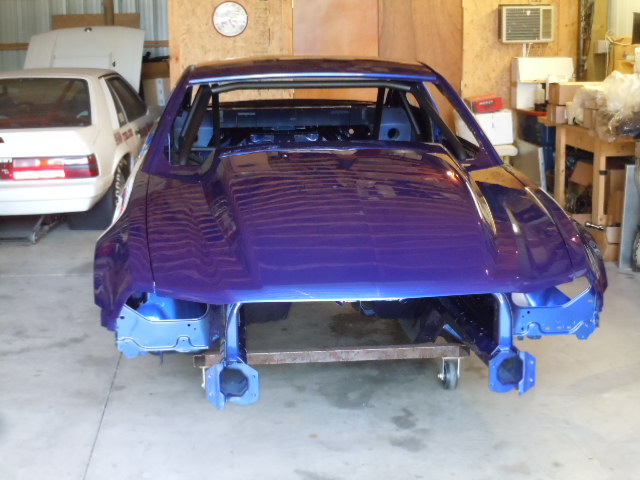
After a year and a half I am back working on my CJ body in white project. Main hoop was test fitted in the body.
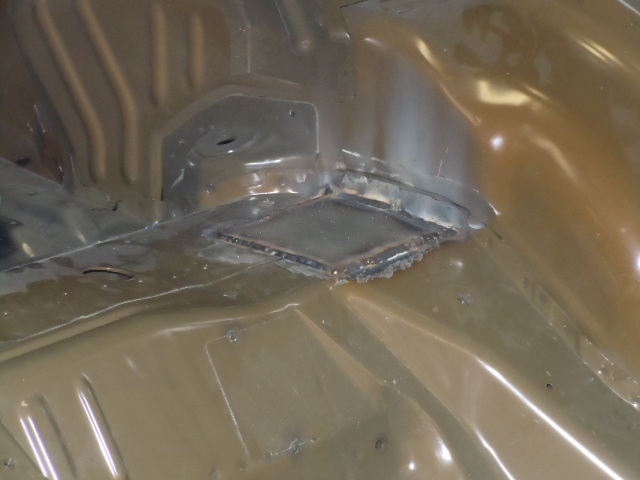
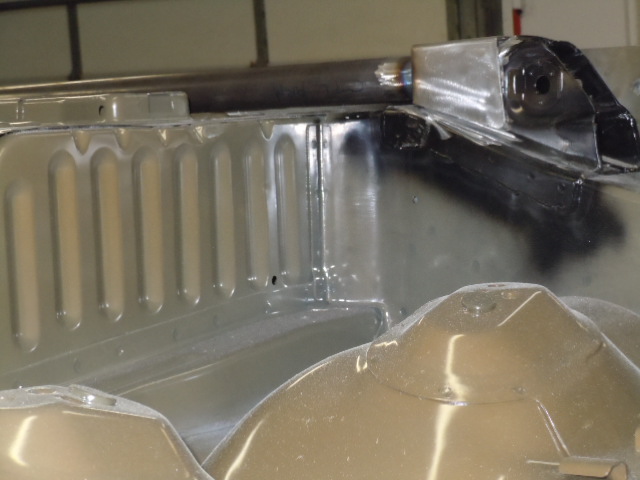
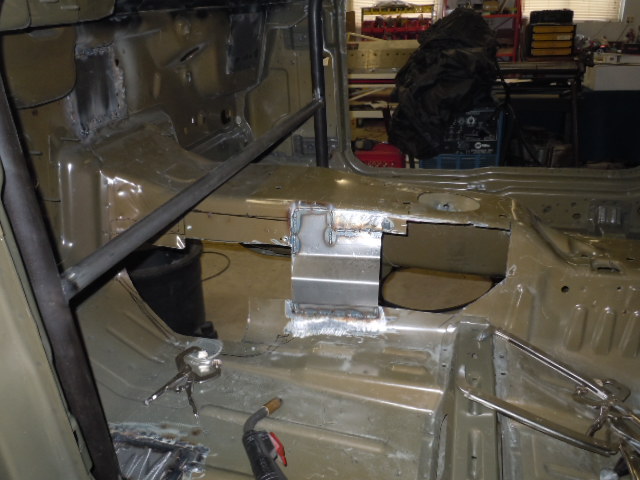
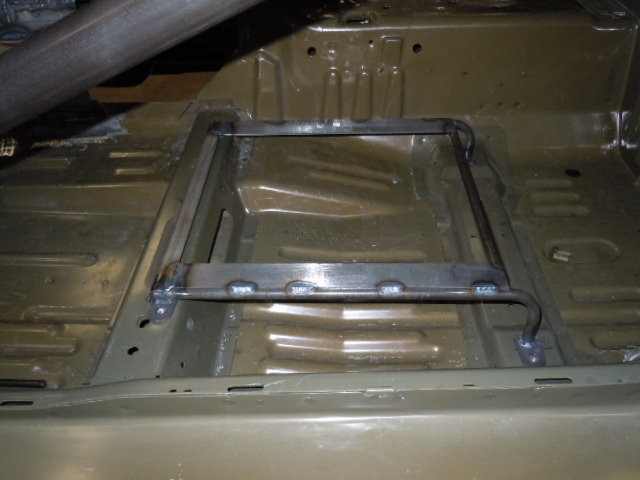
6 x 6 plate welded to rear floor for rear bar.
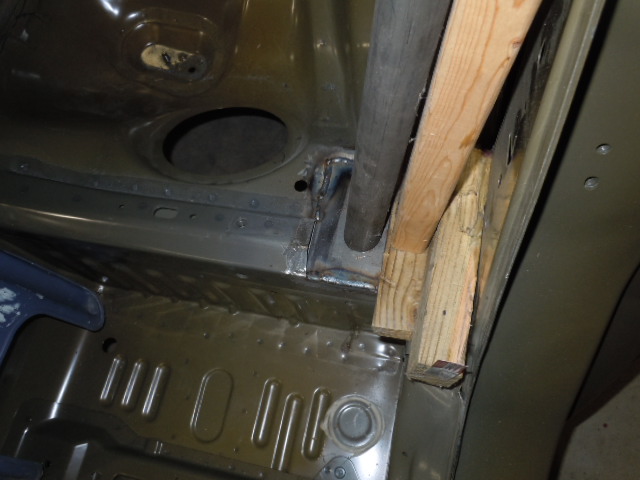
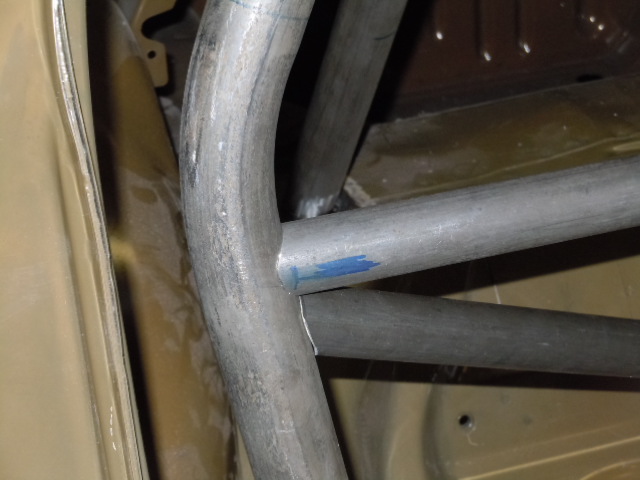
6 x 6 plates welded to floor for main hoop.
Rear bars were fish mouthed to fit against main hoop.
Main hoop and rear bars were tacked in place.
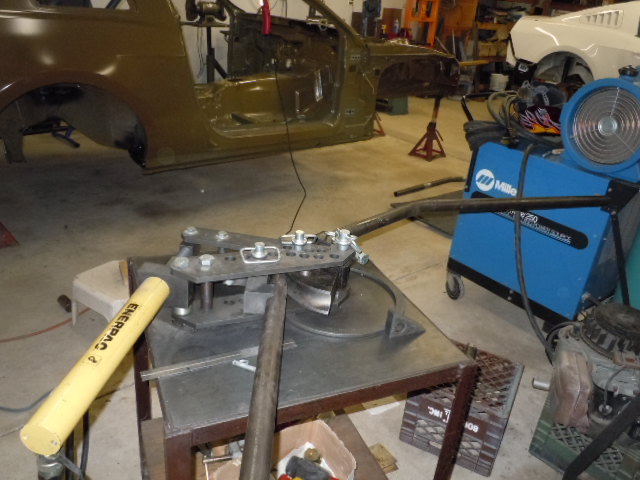
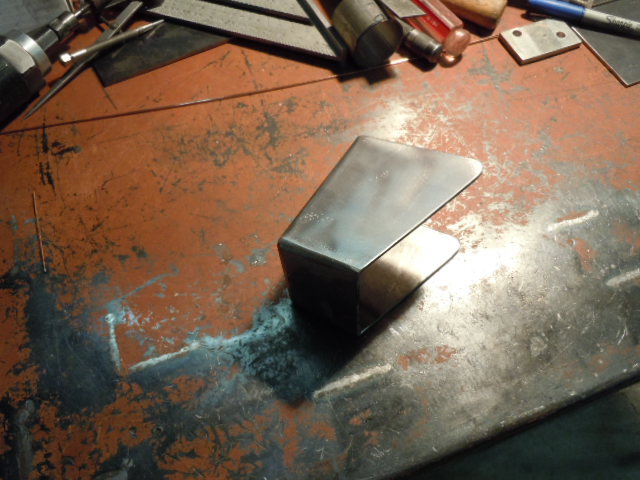
Door frame bar being bent in tube bender.
6 x 6 plate welded to floor for door frame bar.
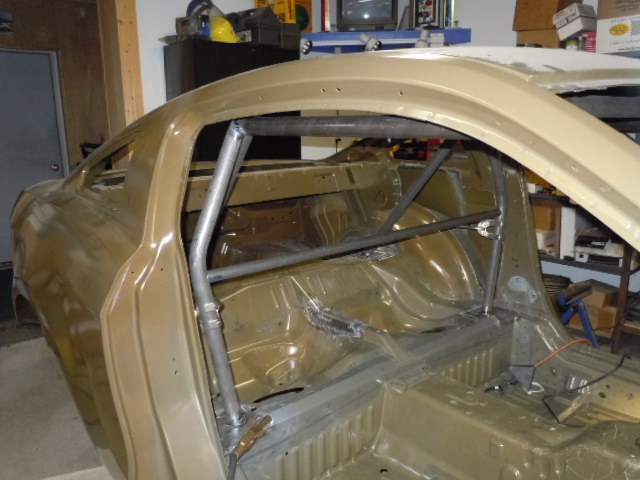
Door frame bars temporarily tack welded in so that the windshield bar can be located and partially welded to door frame bars.
Tack welds holding the door frame bars were cut so the assembly could be dropped down and removed.
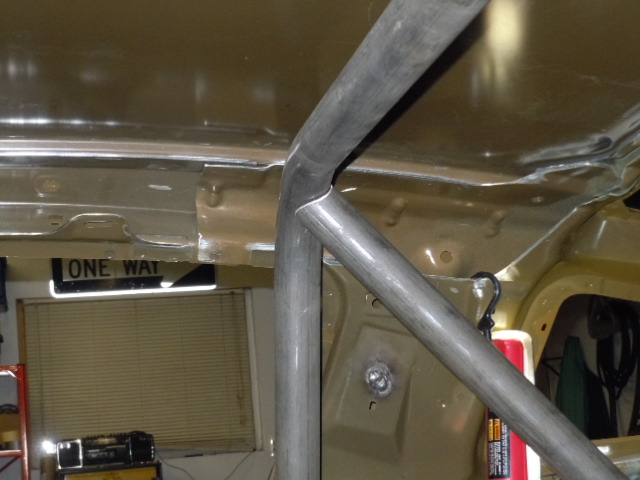
Windshield bar was welded completely to door frame bars outside of the car for ease of access to weld areas.
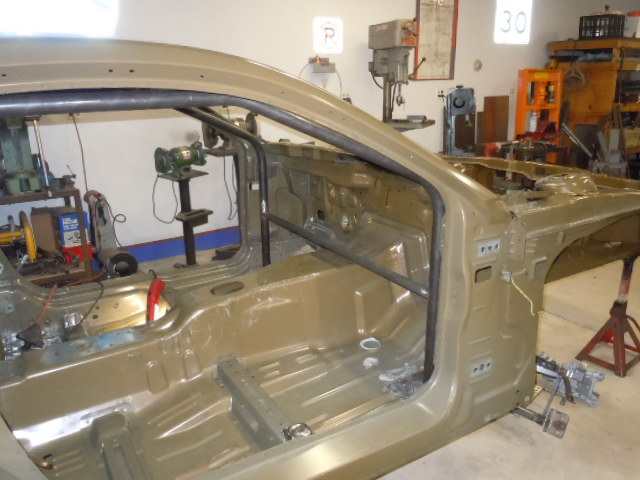
Door frame bar assembly was re-installed in car and welded to main hoop and floor plates in front.
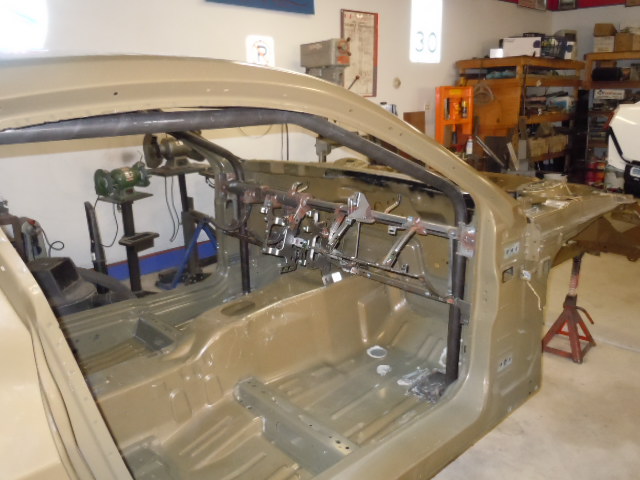
Dash was test fitted and put in place to locate under dash bar.

Test fitting dash frame.
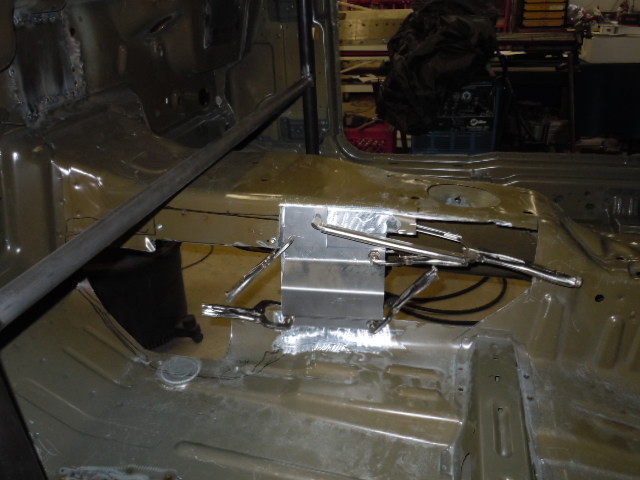
Under dash bar located and tacked in place.
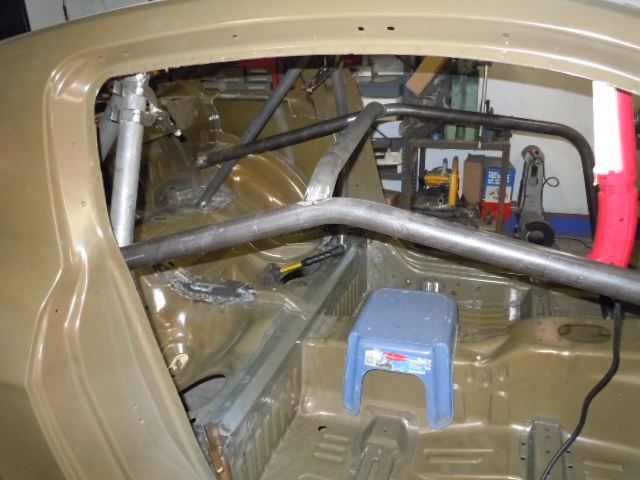
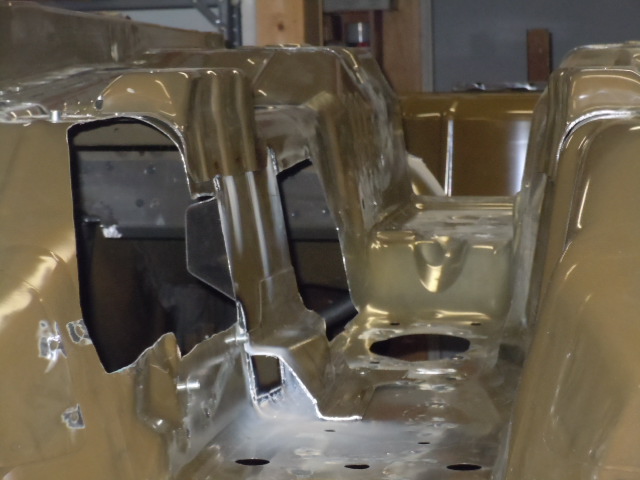
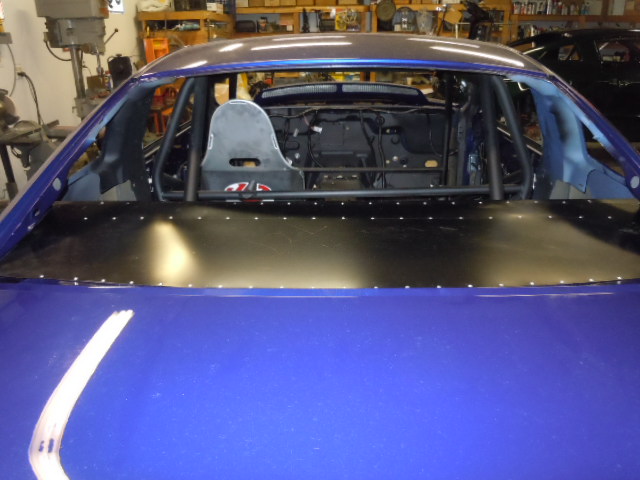
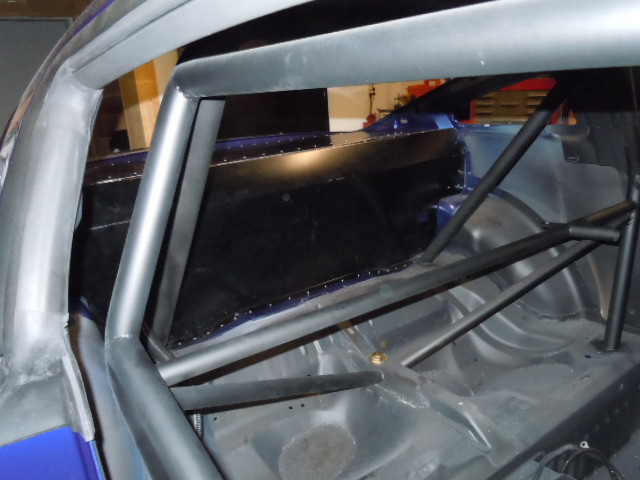
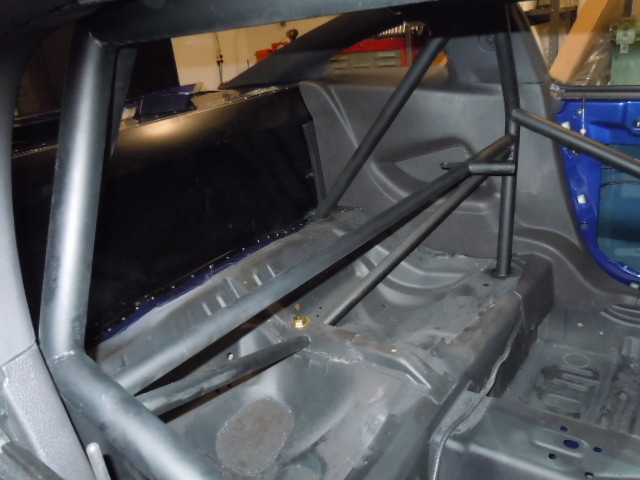
Seat back bar fit and located.
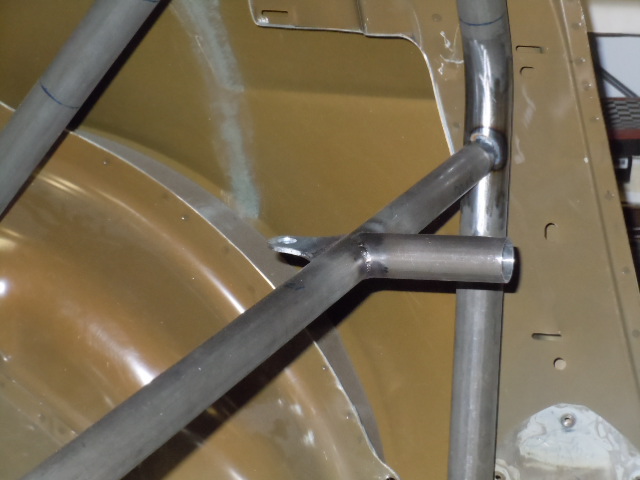
Bar from main hoop to 3 link upper mounting point fit and located.
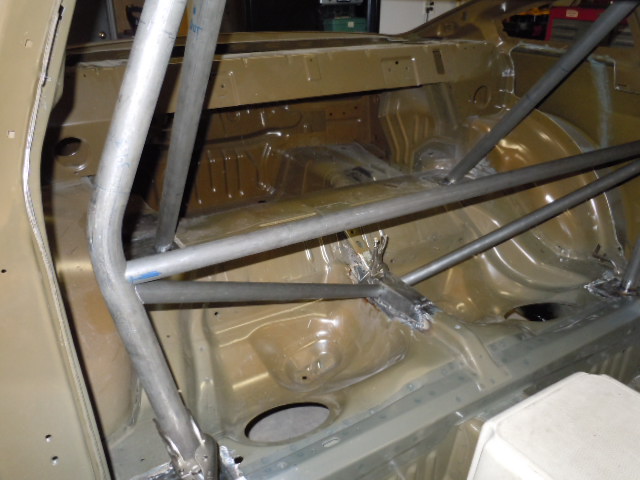
Back brace and main hoop to 3 link bars fit and located. I will wait to later to weld these in.

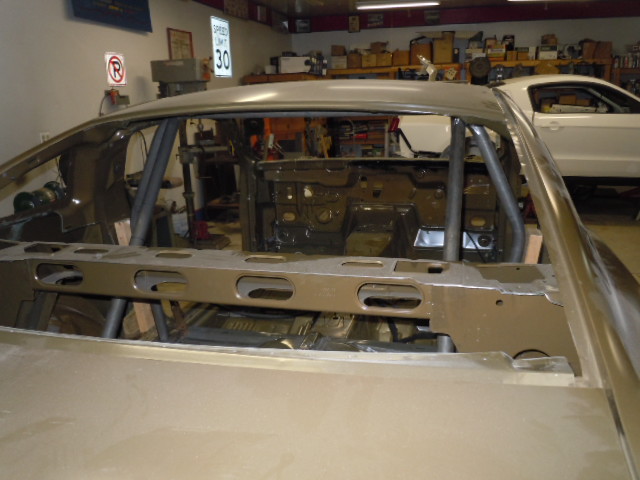
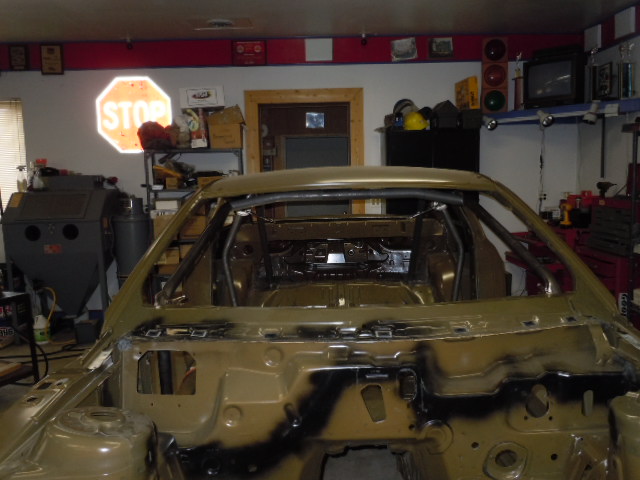
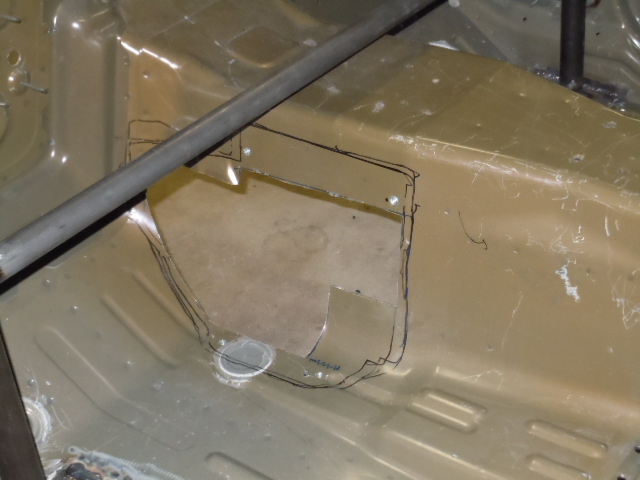
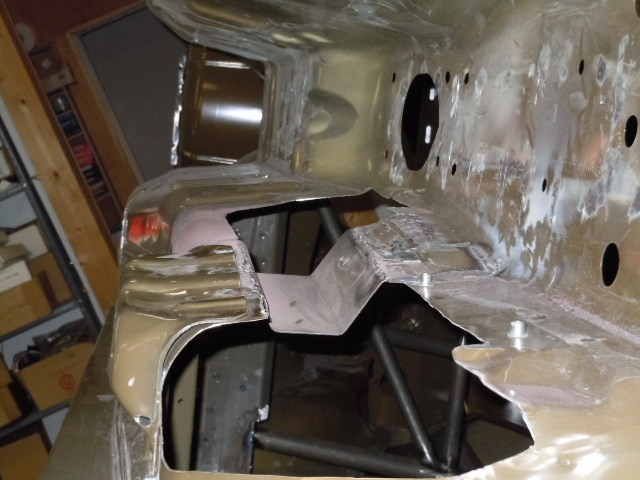
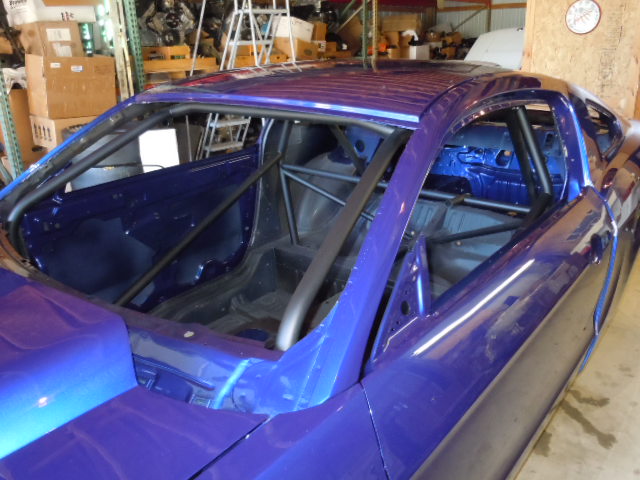
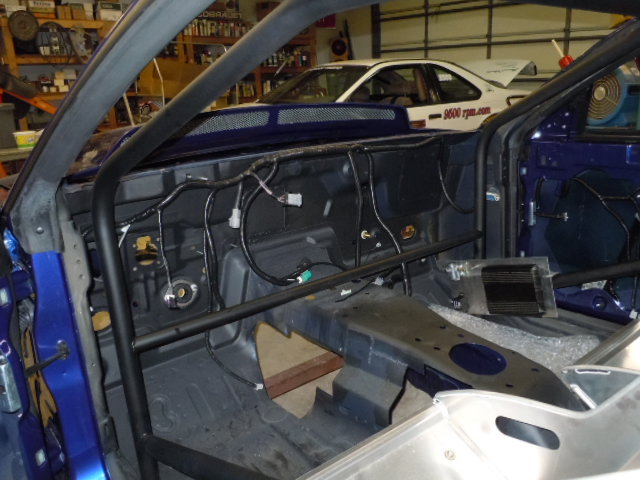
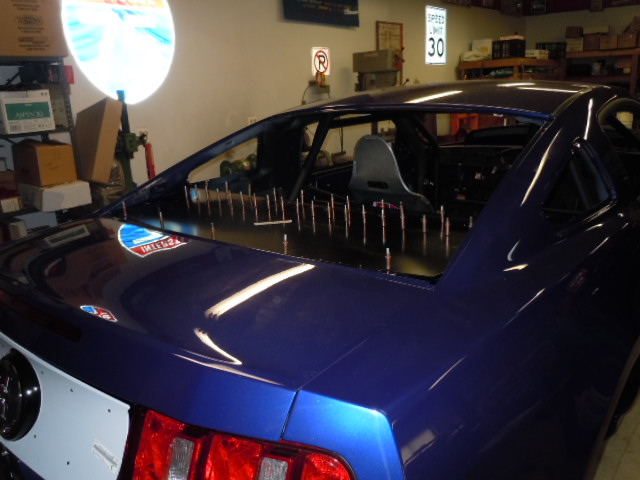
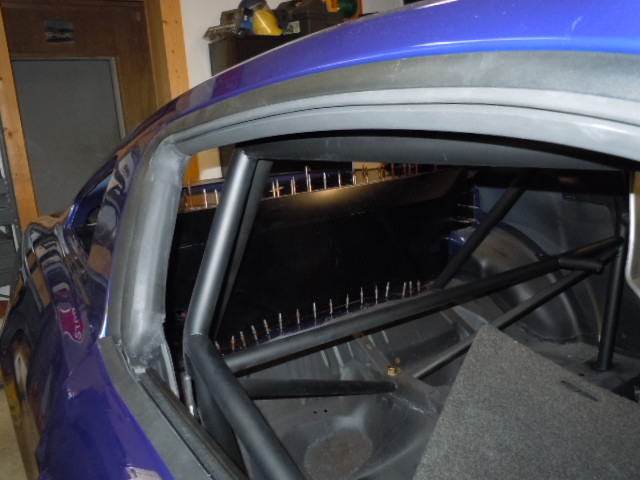
Side door bars fit and located. As of now all of the roll cage bars have been fit and located. I will take them out of car for now so I can patch some holes in the floor and firewall and cut a hole in the floor for transmission and shifter access.
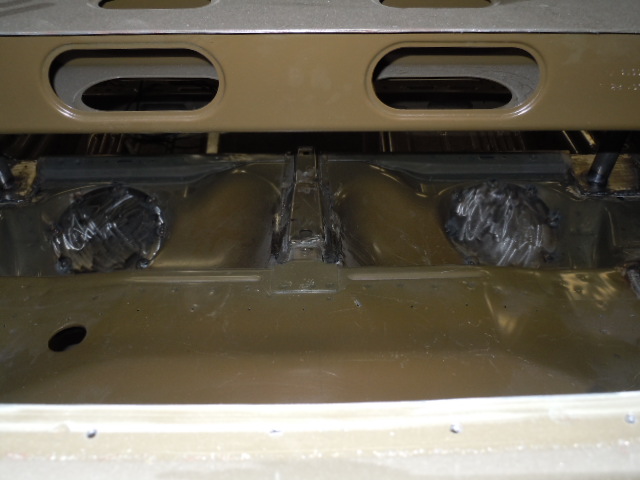
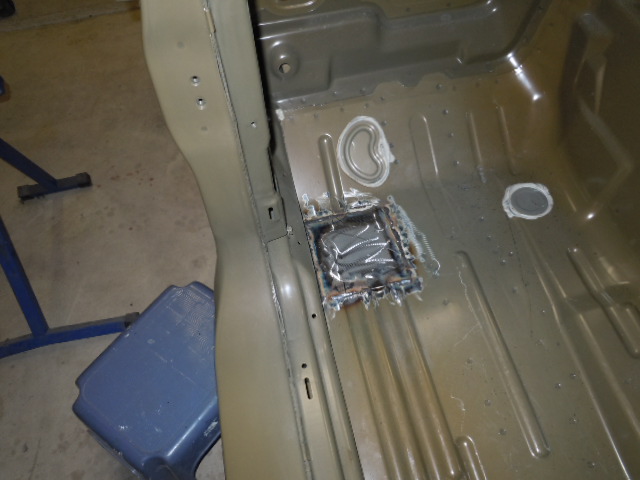
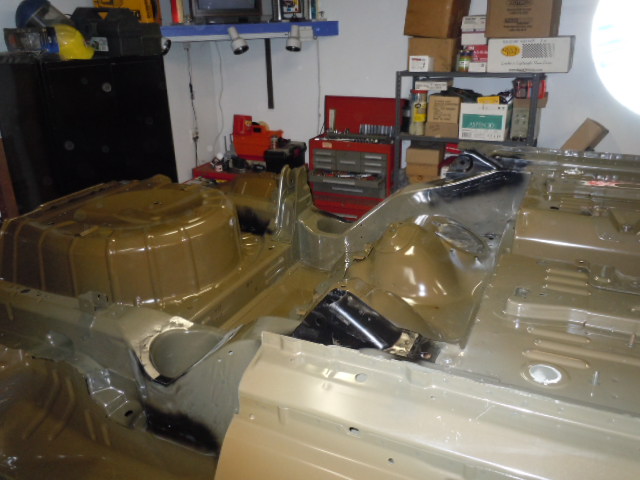
These two large holes were for access to the fuel pumps in a stock tank. Since I am not using a stock tank I will patch these two holes with sheet metal.
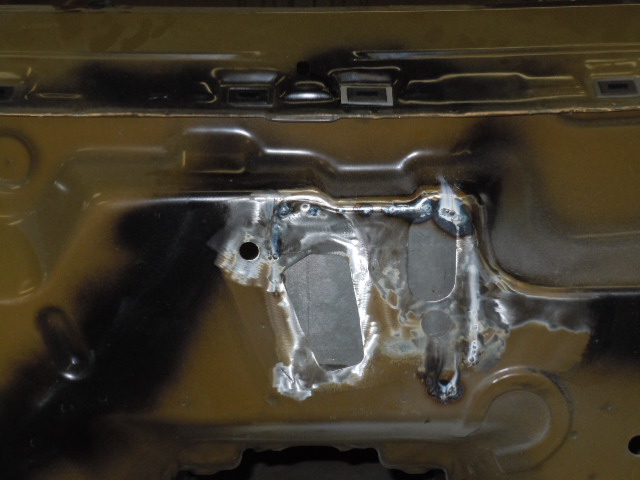
Firewall patch was wire welded in place.
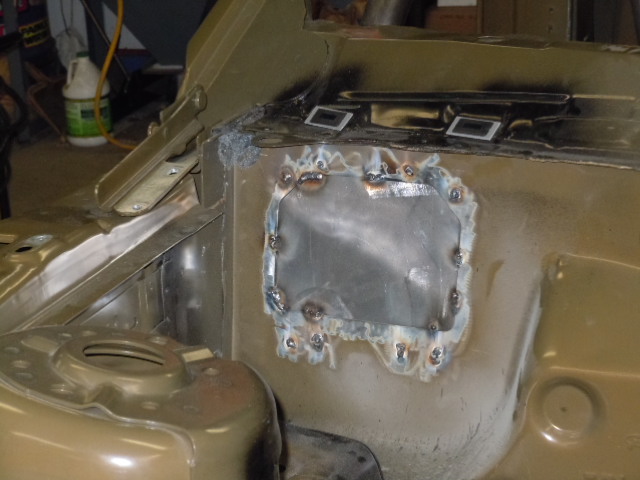
Firewall patch was wire welded in place.
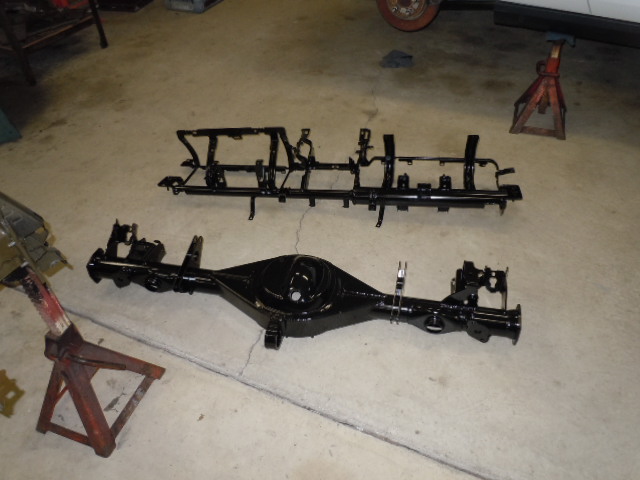
The nine inch Ford rear end housing was fabricated by MPR. The rear end housing and the dash frame were sent out and powder coated.
A tab for the shoulder harness was welded to the back brace bar. A short piece of 1-1/4" tube was fit and weled to the back brace. I will then fabricate a telescoping adjustable seat back pad out of a piece of 1-3/8" tubing that will slip over the 1-1/4" tube.
I began cutting out the transmission tunnel for access to the manual transmission shifter linkage.
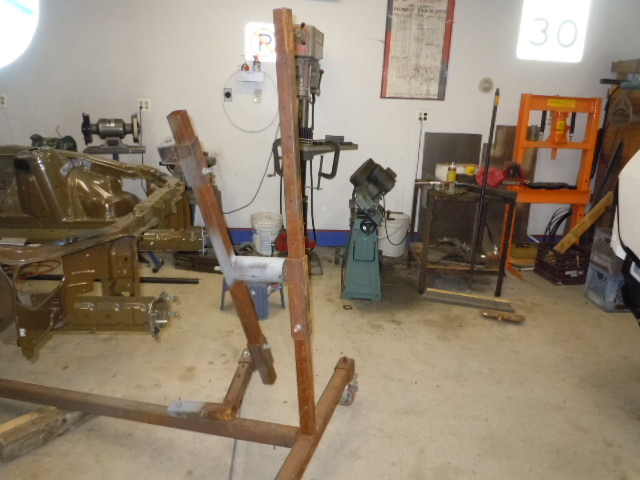
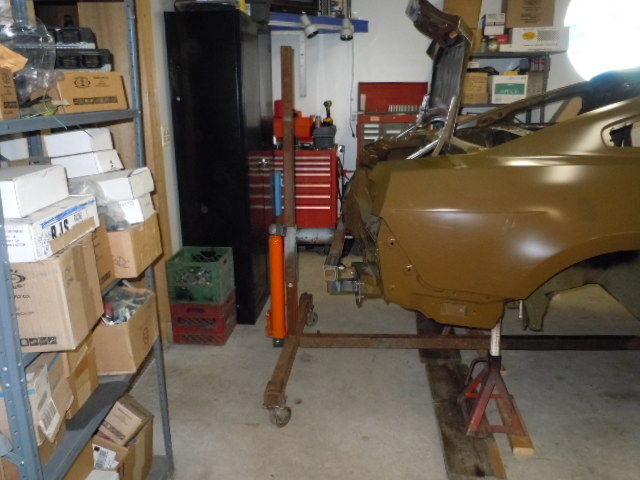
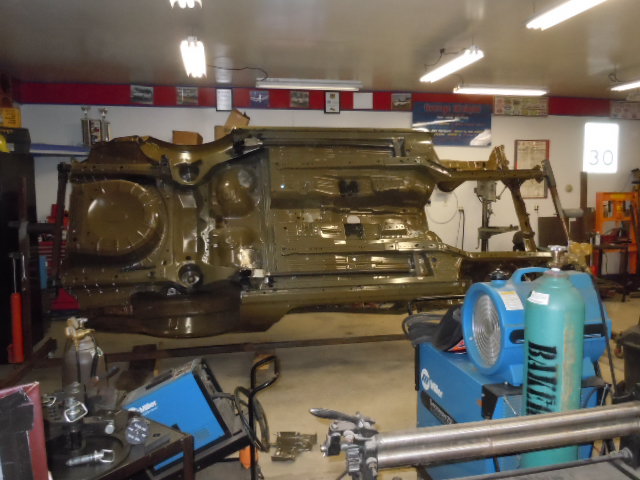
Lately I have been working on a rotisserie I borrowed. The rotisserie did not have any hydraulic cylinders or provisions for mounting cylinders.
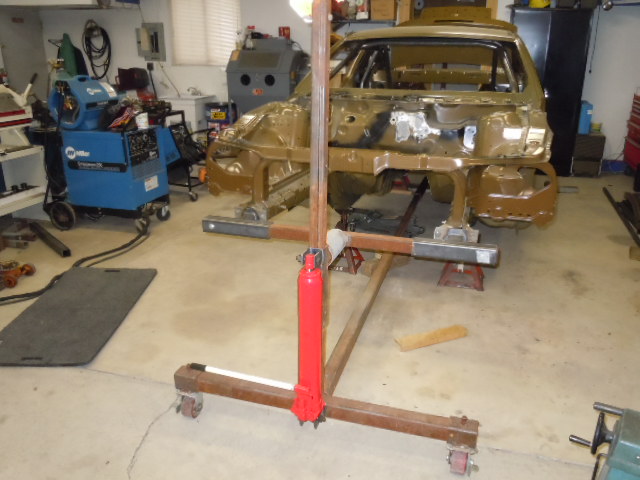
I fabricated and welded on brackets to mount a hydraulic cylinder. I borrowed the cylinder off of my engine hoist and one from Jimmy's engine hoist to lift each end of the body.
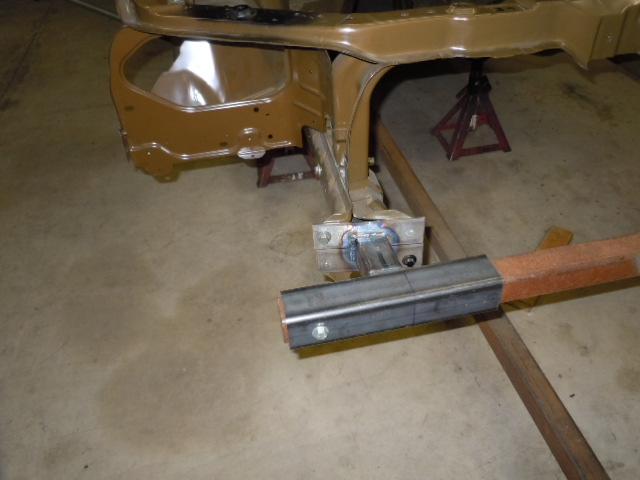
Bulkhead adapters were fabricated to bolt up to the bumper mounts. The bulkhead also goes about 12 inches into the frame rail and is pinned in with a bolt.
Rear adapters wer fabricated to bolt to the rear bumper brackets.
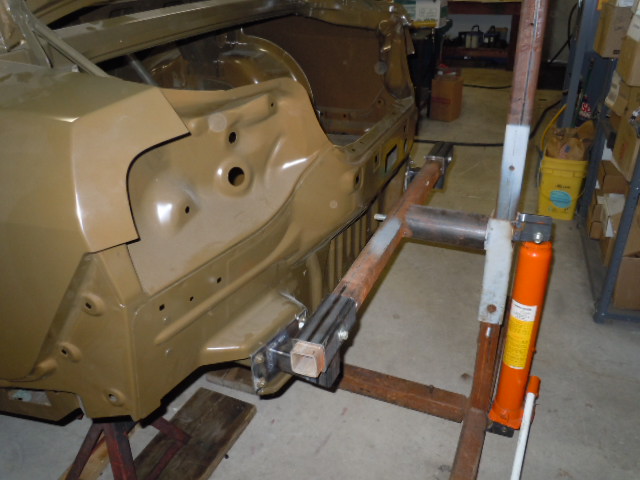
The adapters were dropped / offset to keep the center axis of the rotisserie equal on both ends.
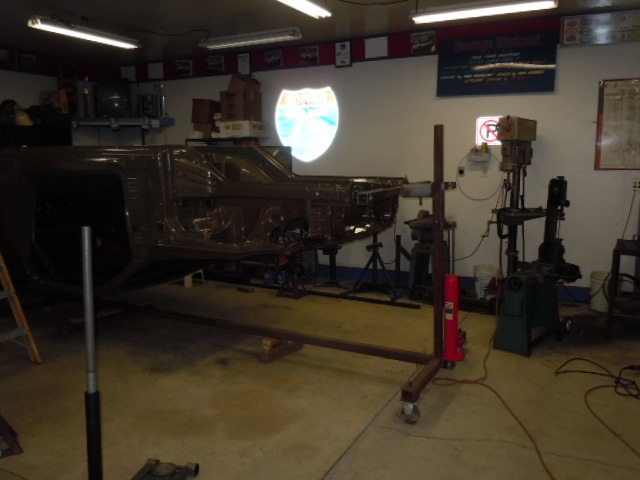
Finally now I can get back to working on the car.
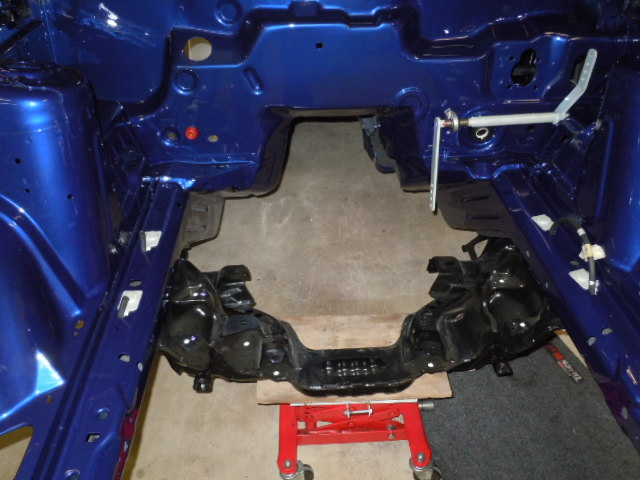
This will give me access to the underside of the body so I can weld in some lower control arm supports. I can also grind off any unnecessary exhaust hanger and gas tank hanger studs.
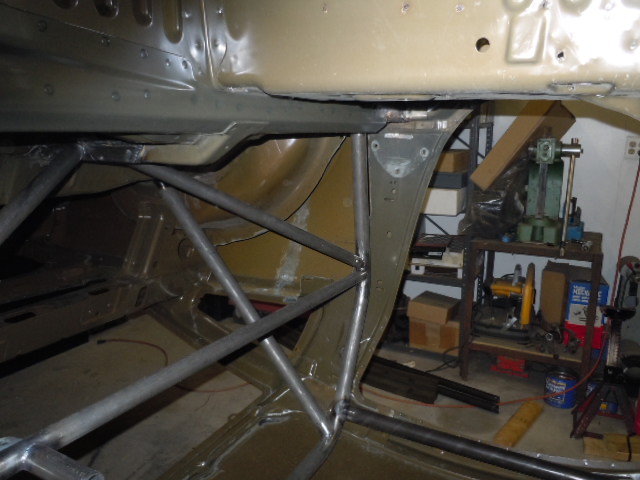
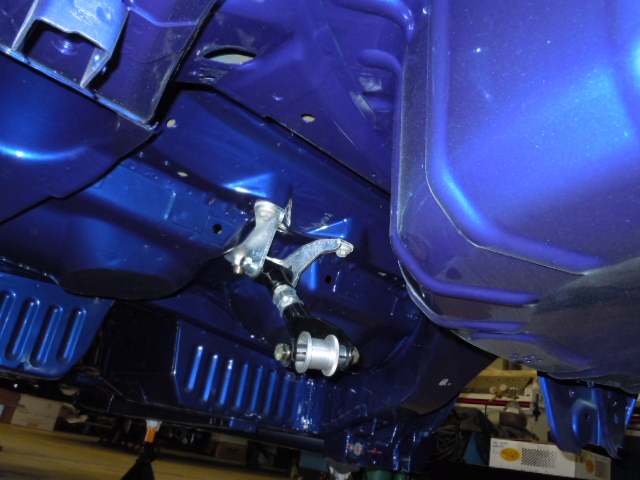
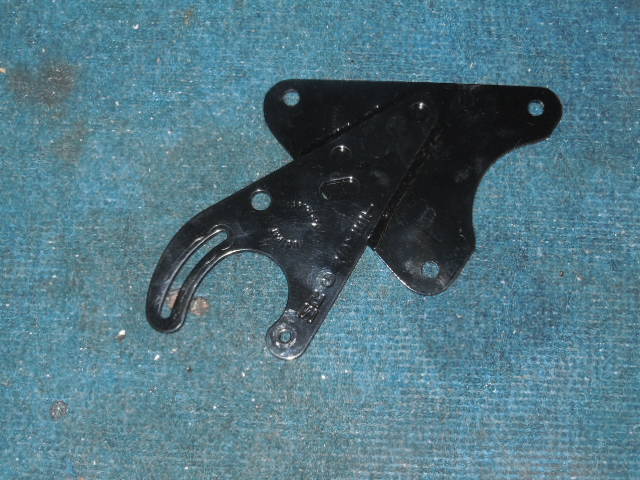
The lower control arm mount on a mustang body is located at the bottom of the uni-body subframe rail. There is no support for it when it the car launches and the lower control arm pushes forward on it.

The lower control arm support / frame connector starts out as a 1-5/8" chromemoly tube that is bent at 4 degrees.
An enclosure to cap the lower control arm mount is formed from a piece of .100" cold rolled steel.
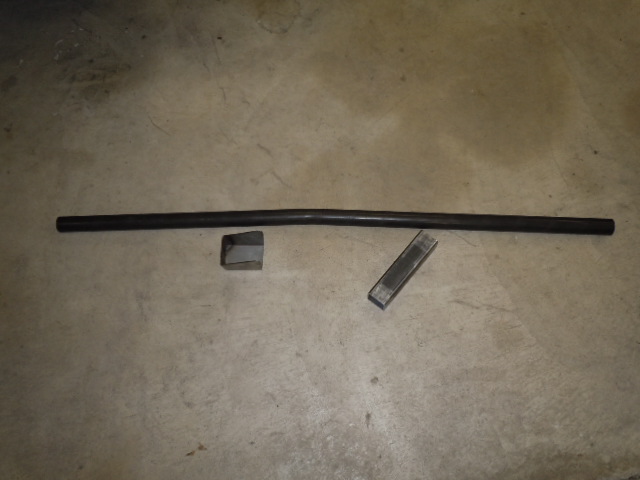
An 8" piece of 2X2 tubing with 1-5/8 hole is also needed.
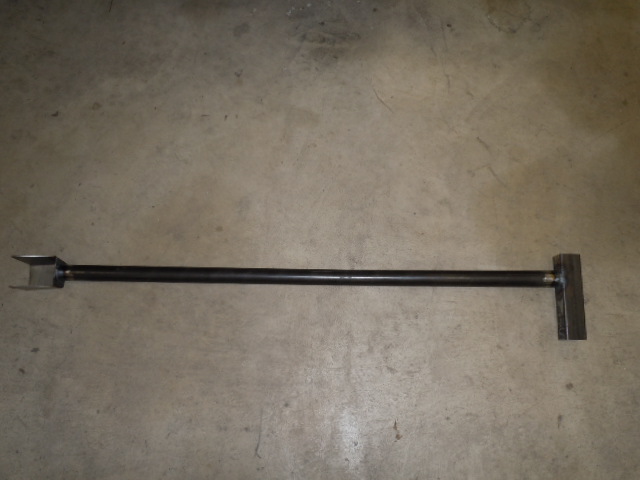
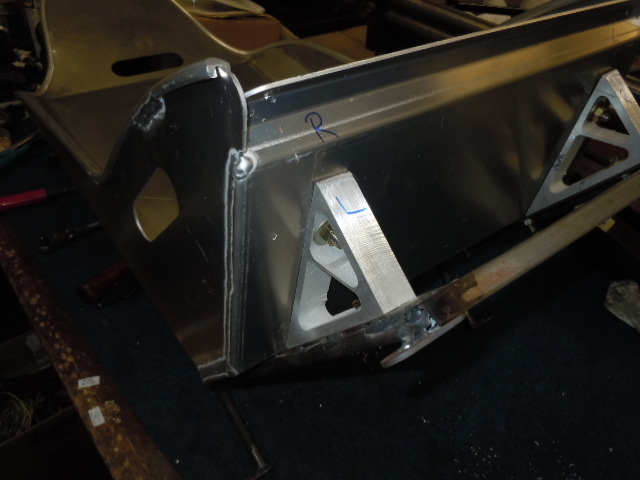
The finished lower contrl arm support / frame connector.
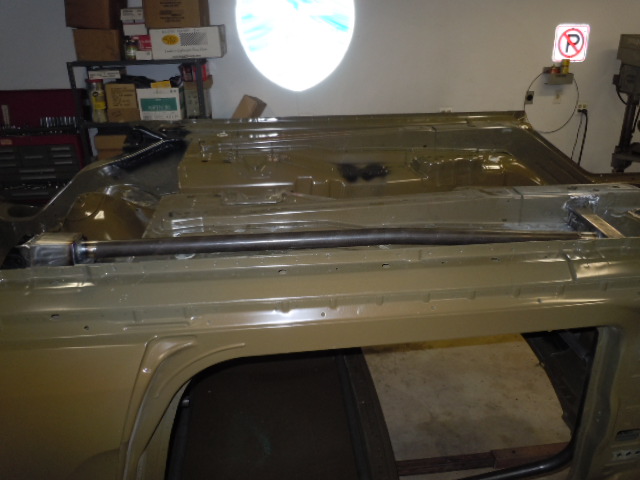
Here is the lower control arm support installed on the body, ready to weld.
A look at the lower contrl arm support from the other side of the body.
A close up of how the enclosure fits over the lower control arm mount.
Underside of the body shows both lower control arm supports installed.
Tunnel brace clamped in and ready to weld. The brace is formed to allow extra clearance to clear the Long shifter on the Jerico 4 speed.
Tunnel brace welded in place.
From this view you can see how the brace steps out to allow clearance for the shifter linkage. The original piece of the tunnel has yet to be cut out with a cutoff wheel.
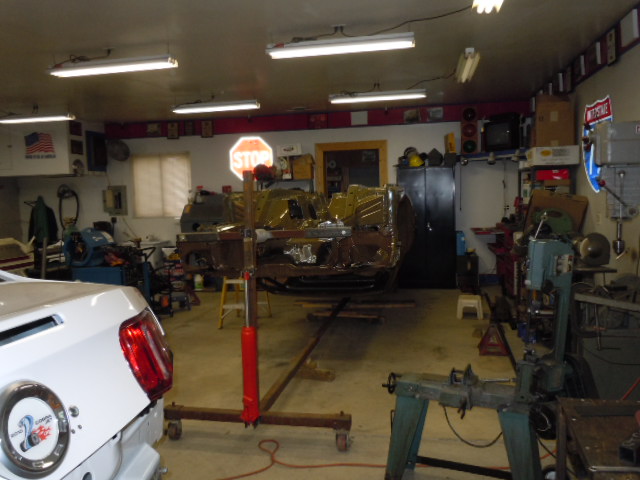
While upside down, this allows me to weld some other hard to reach areas on the cage.
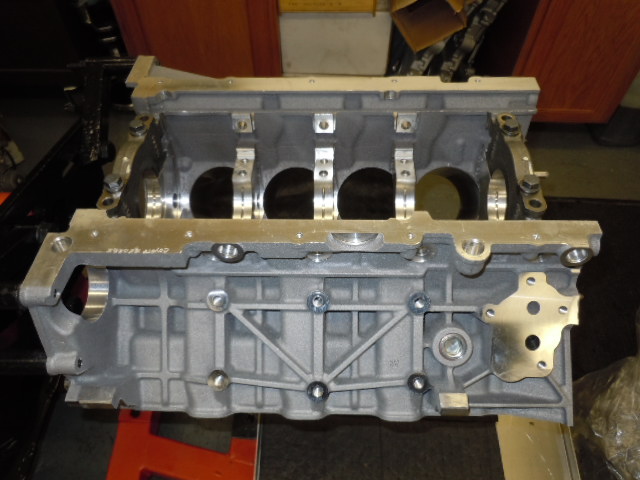
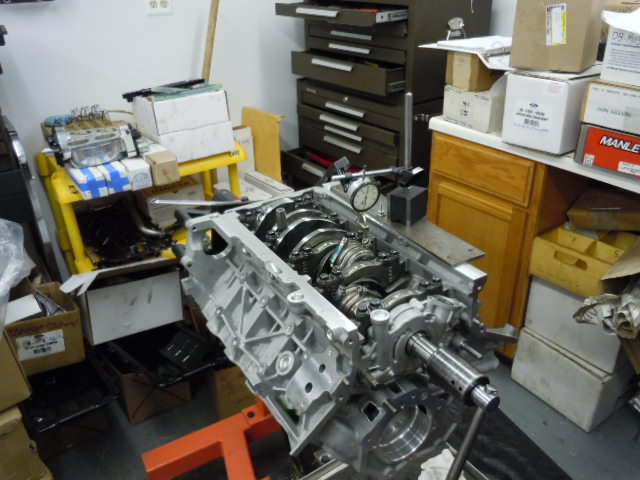
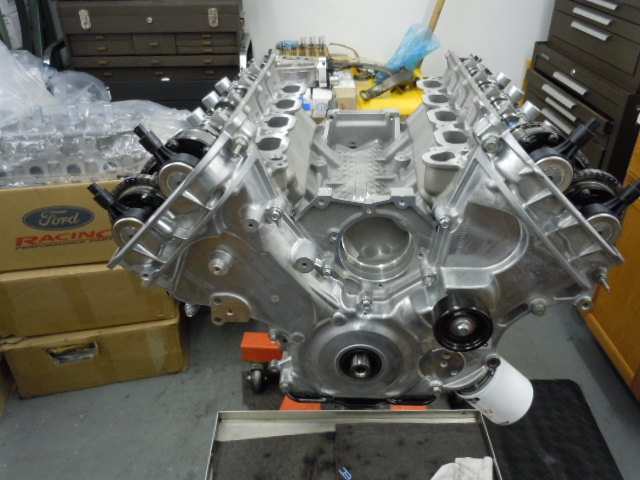
The 5.0 liter Coyote block prepped and ready for mock up.
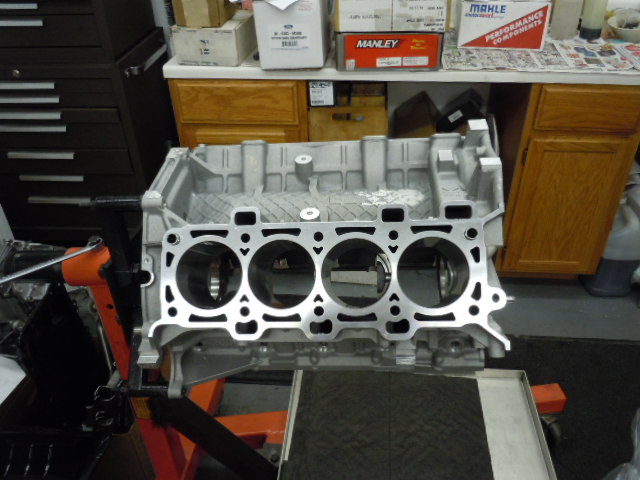
5.0 liter Coyote block.
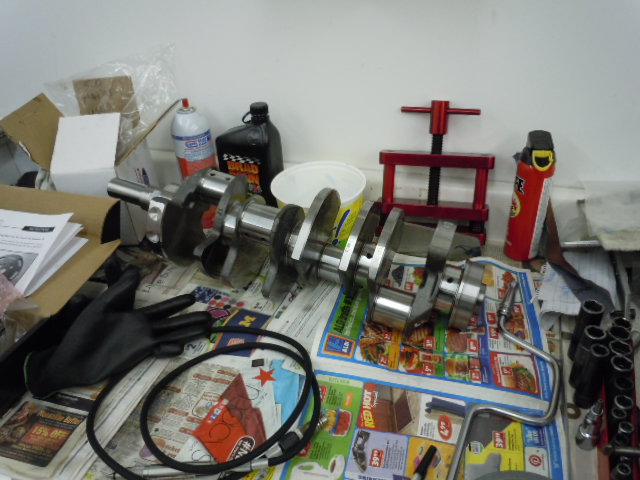
5.0 liter Coyote crank was balanced since the original factory rods are being replaced with Manley rods.
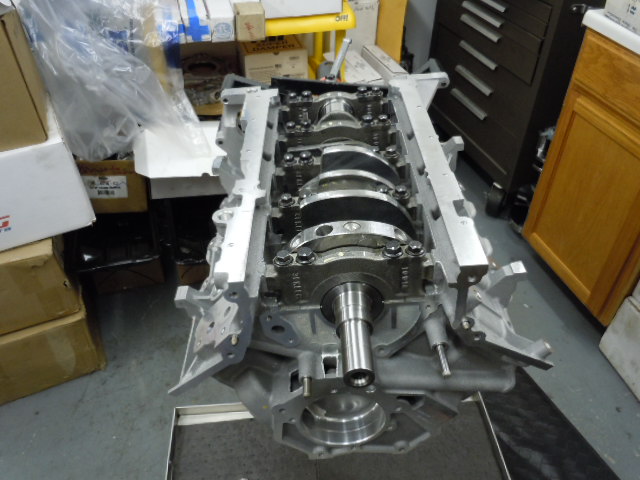
Crank installed in block.
Modifications to the transmission tunnel are now complete.
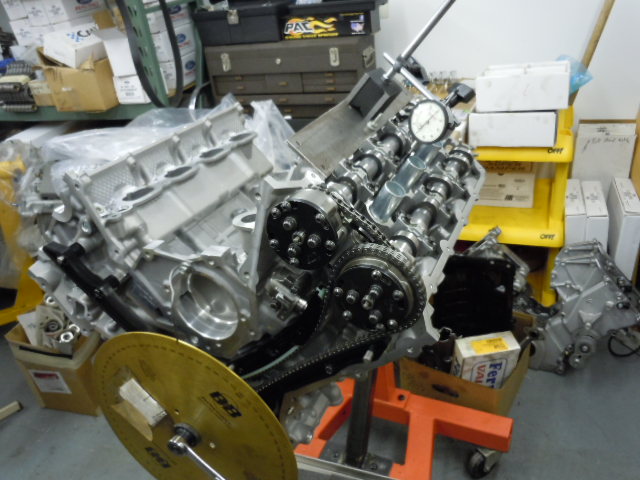
The 5.0L Coyote has 4 overhead camshafts. Jimmy has been busy degreeing the 4 cams and checking piston to valve clearance.
Passenger side cams mocked up and ready to check. I am using Comp Cams VCT lockouts. The Big Stuff 3 does not have the capability to control VCTs/cams. Eventually I would like to try a different aftermarket ECU that could control the cams.
All of the underside cutting and welding is done. All the bars in the back seat area have been welded. Now I am ready to weld in the side bars.
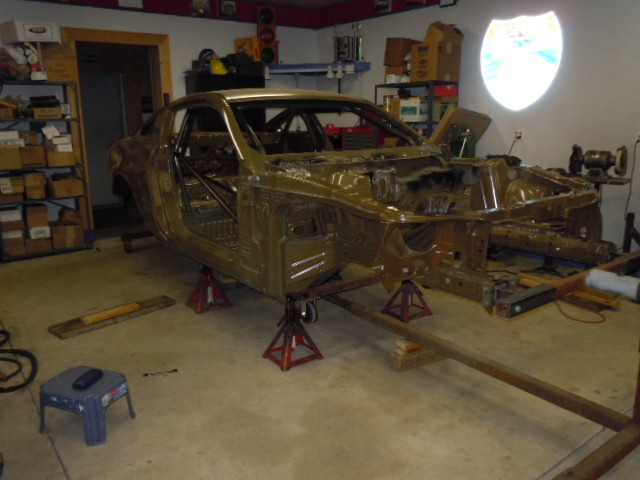
The body was lowered back down onto jackstands.
The rotisserie was disassembled now that the body is on jackstands. All I need to do with the body is trim and roll the front lower sections of the quarter panels for tire clearance. After that the body will be ready to go the the painter.
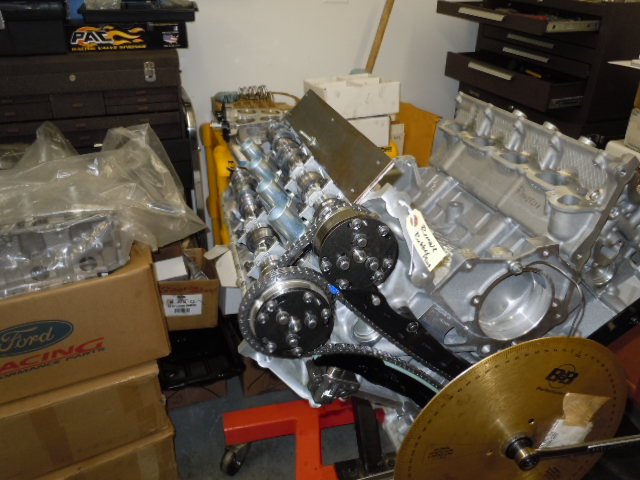
Pistons and rods were installed. Crank end play was checked and recorded on the build sheet.
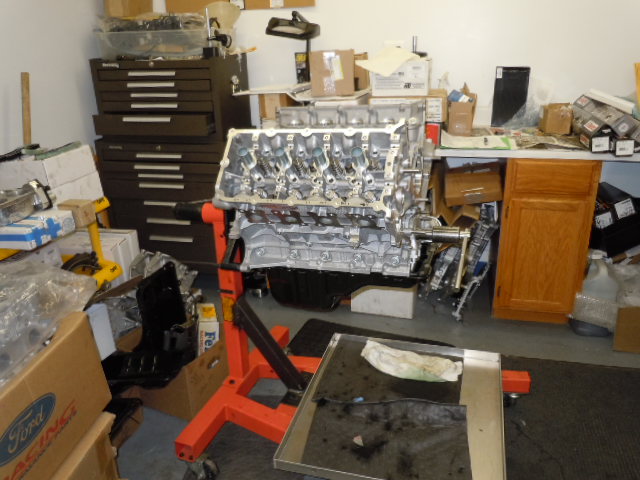
Cylinder heads back on. Unlike the 5.4 or 4.6 the cams have to be removed from the heads in order to access the head bolts. Cams can now go back in for final assembly.
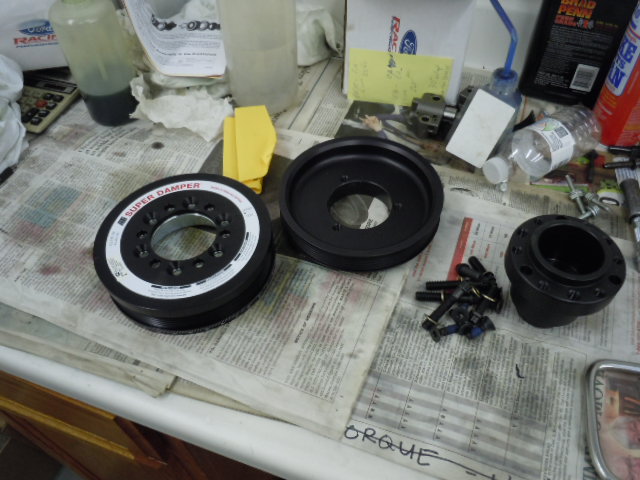
ATI balancer ready to install.
Final assembly of cams and chains. Front cover and oil filter adapter were installed.
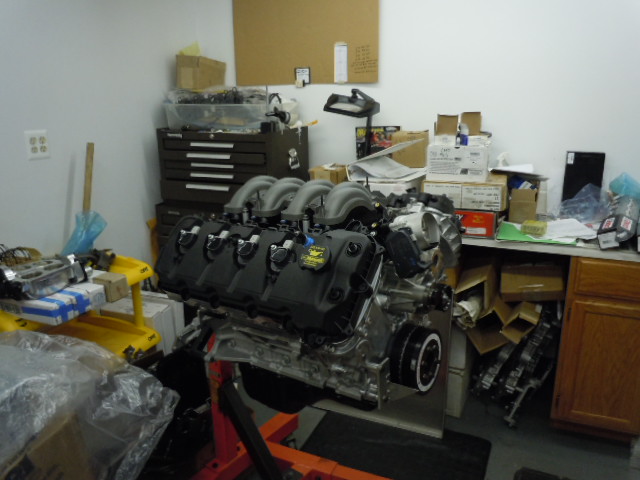
Other than injectors and fuel rails, the engine is done. I missed getting a lot of detailed photos of the engine build since I have been busy in the other building working on the body. In the mean time Jimmy has been busy getting the engine completed.
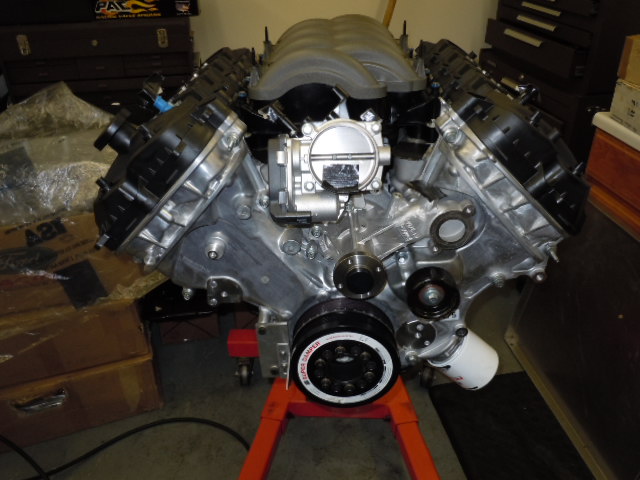
I will be using the stock water pump and I will be driving it with a small fan motor and small cog belt.
The stock throttle body needs to be sent out to Accufab to convert it from drive by wire to cable operated.
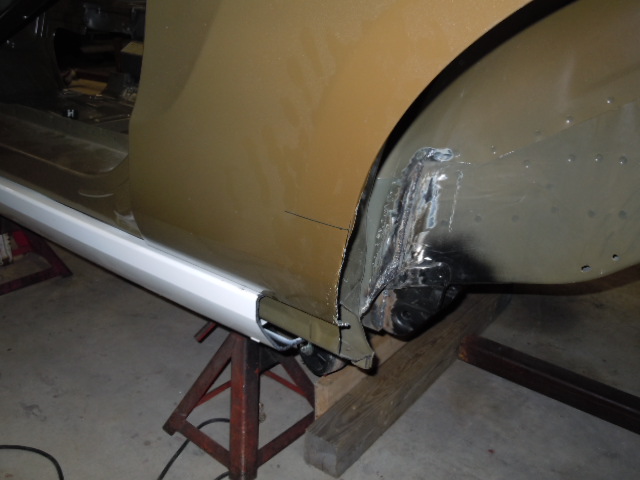
The front lower lip of the wheel well opening was opened up. The lower plastic rocker panel covers also need to be cut, sectioned and plastic welded back together in order to fit the modified wheel openings.
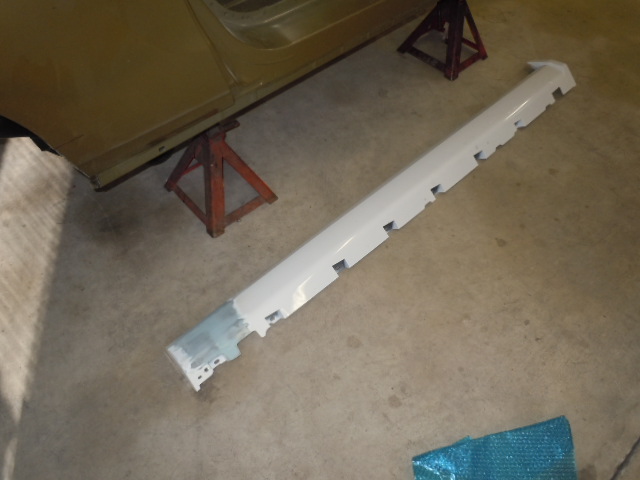
Here is the lower plastic rocker pnael after being modified and refinished. Thanks to Adrian from Varsity Ford.
Fabrication of seat mount frame.
Seat moch up. After trying out this mount I will use it on the passenger side and fabricate a driver side mount that is higher in the back. As shown the seat leans back too much for my comfort.
The body is on a dolly and ready to roll up into the trailer and go to the paint shop.
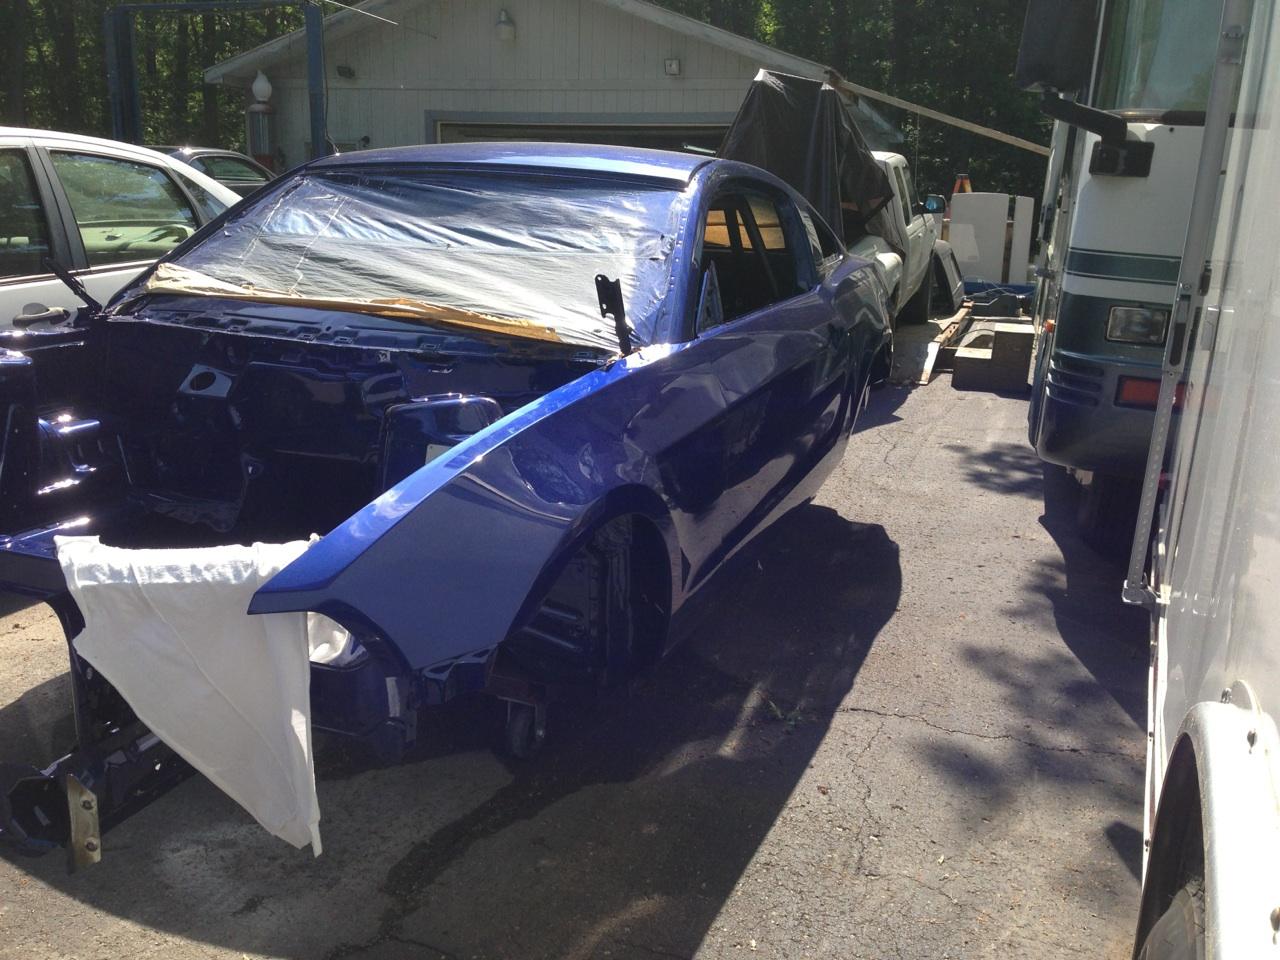
The body is now at the paint shop. The body will be painted Sonic Blue.
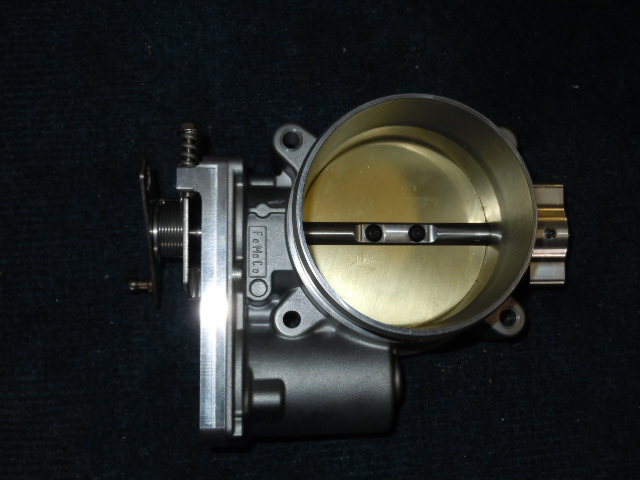
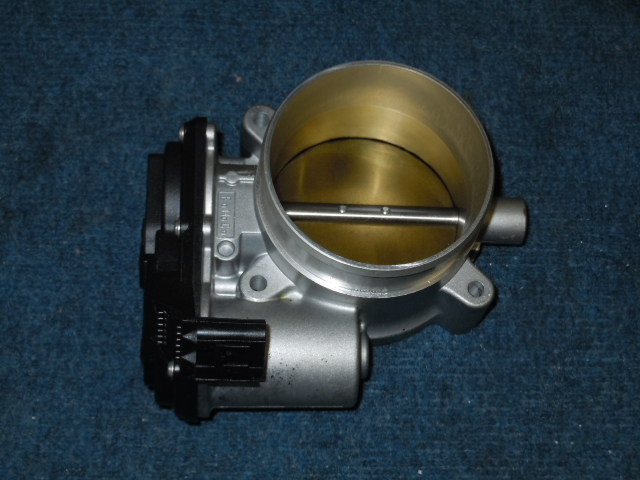
My throttle body cam back from Accufab this week. The drive by wire stepper motor was removed and a manual linkage mechanism was attached to the throttle blade shaft.
At the paint shop.
At the paint shop.
Back from the paint shop waiting for the Mule to be completed so I can move the body over to the assembly shop.
Roll cage was painted a dark charcoal grey.
In the assembly area.
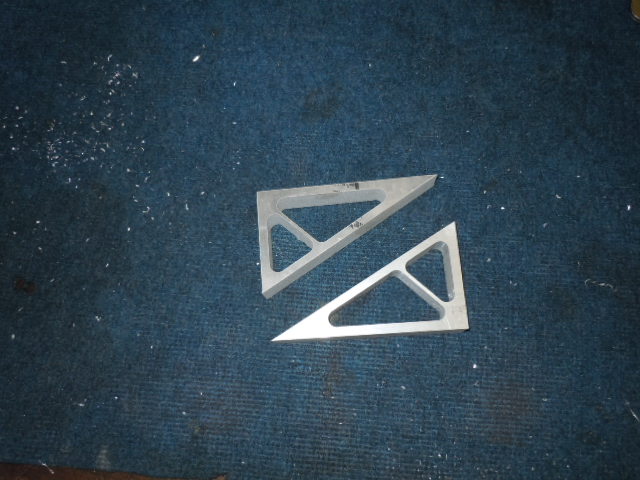
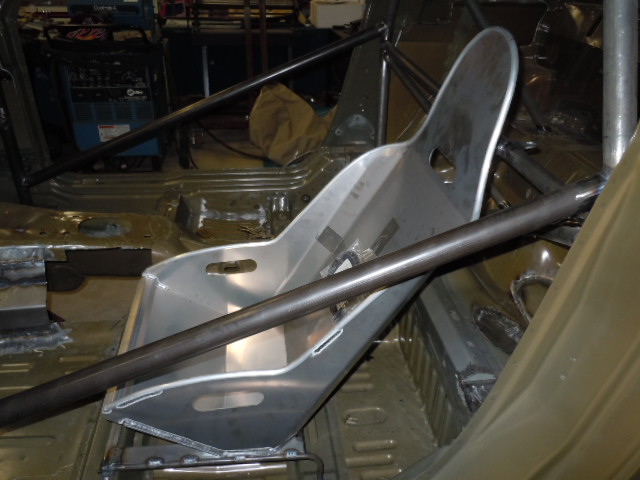
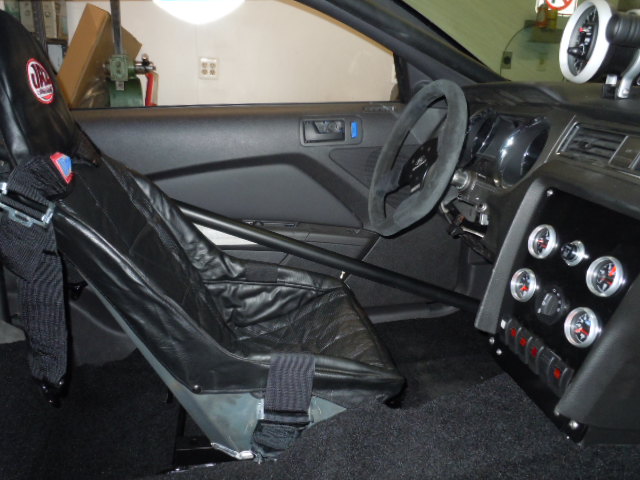
I had seat braces water jetted out of 1 inch aluminum plate.
The aluminum braces support the front of the Jaz aluminum seat.
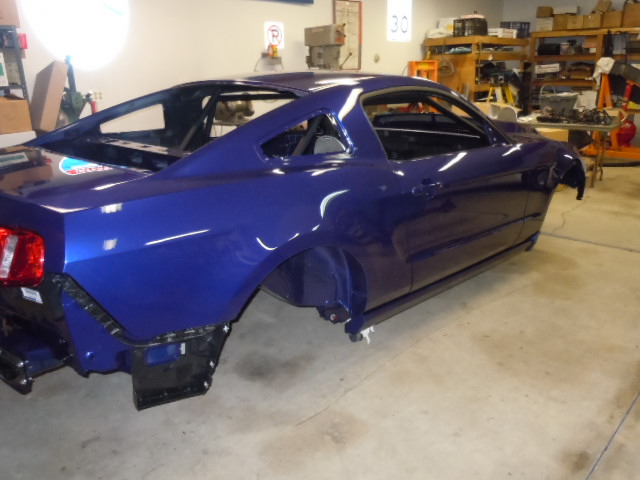
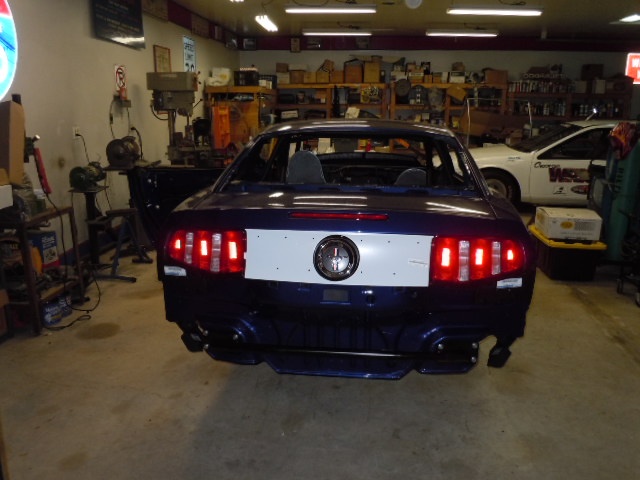
Tail lights, rocker panels, weather stripping all installed.
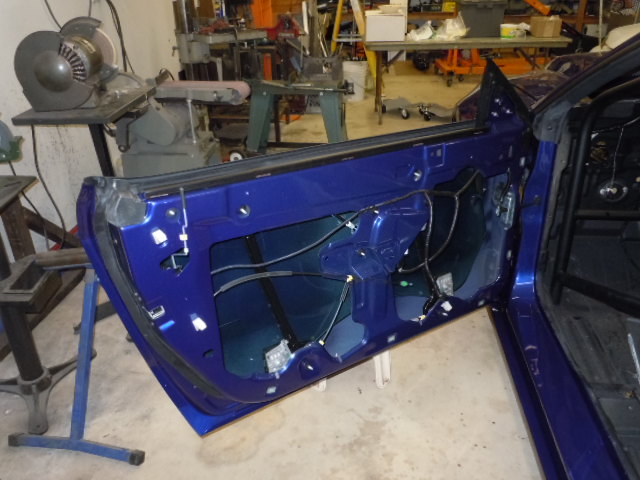
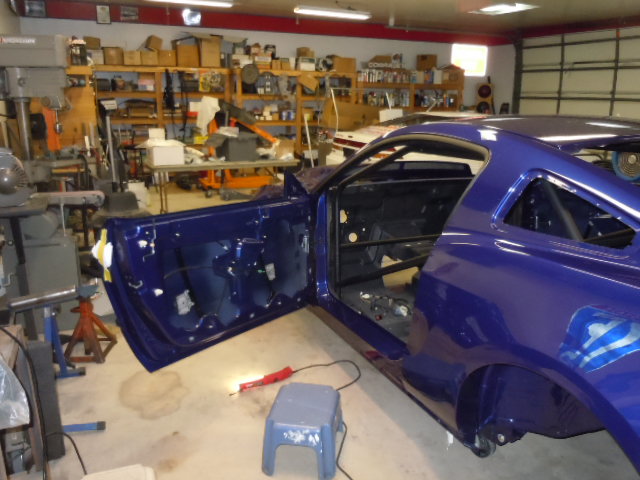
Door glass installed. Door harness installed and power window tested.
Seats located and bolted in temporarily. Main wiring harness tested and installed. Big Stuff ECU and electrical components mounted on plate attached to roll cage.
Headlights installed. Gas cylinders installed. No need for a prop rod to hold up the hood.
Deck lid and rear bumper beam installed.
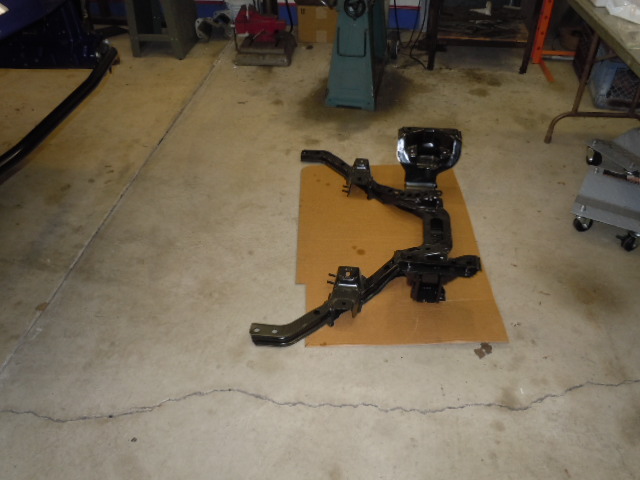
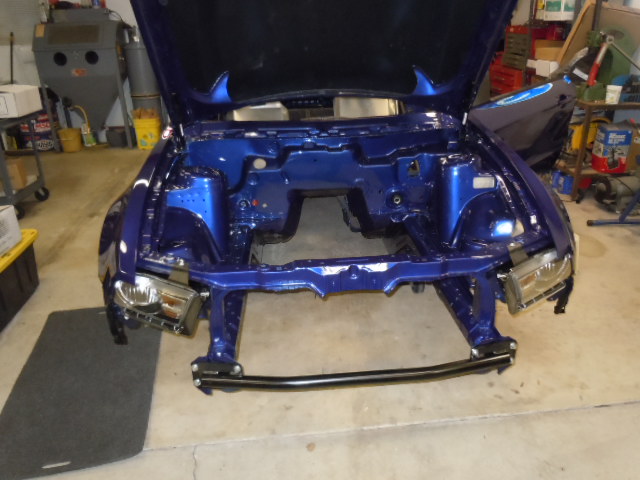
K-member ready to bolt up.
K-member bolted into body. Clutch linkage also bolted in place. Brad Zaskowski built 5 sets of clutch linkage for the stick shift CobraJets we have assembled. Good design and nice workmanship.
Upper 3 link bar and mounting bracket bolted into body.
Rear firewall mocked up with Clecos.
Rear firewall mocked up with Clecos.
Rear firewall rivited in.
Rear firewall rivited in.
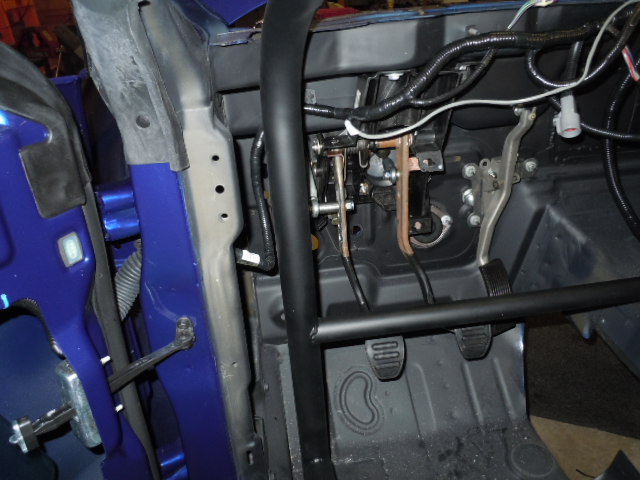
Clutch, brake and gas pedals bolted in. The drive by wire gas pedal was replaced with a fox body gas pedal since I will be using a BigStuff ECU.
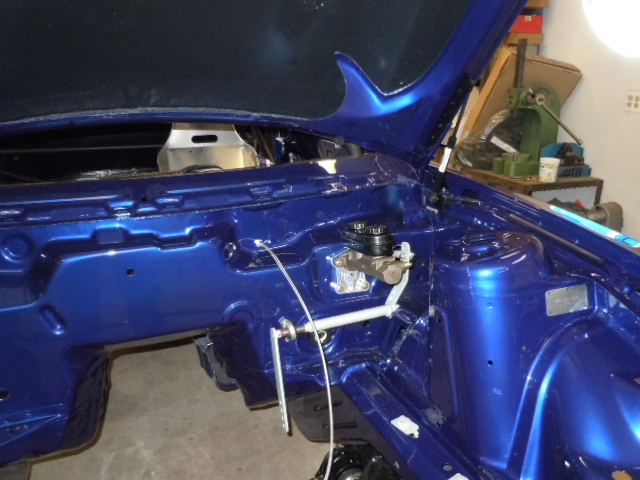
Master cylinder installed.
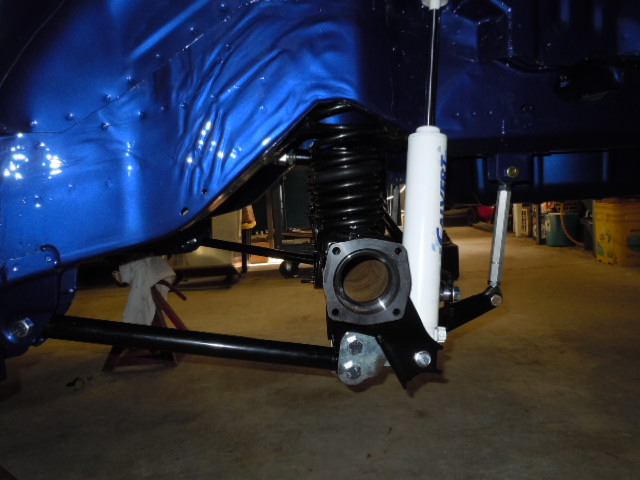
Nine inch rear end housing installed along with suspension parts. Adjustable Calvert rear shocks will be used in the rear.
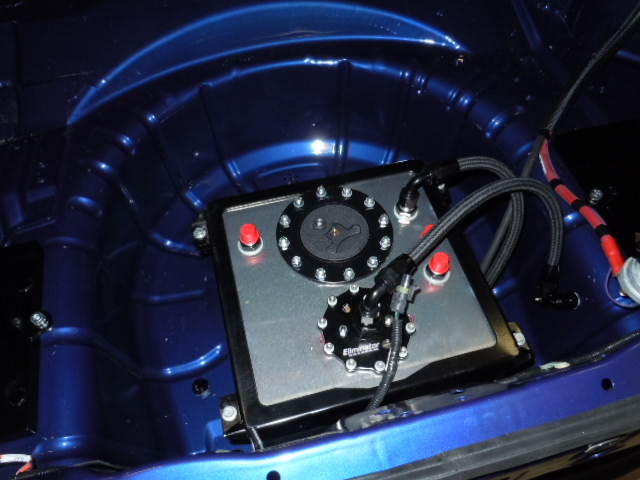
Aeromotive fuel cell installed. Dash 8 hoses being cut and assembled.
Rear brakes assembled.
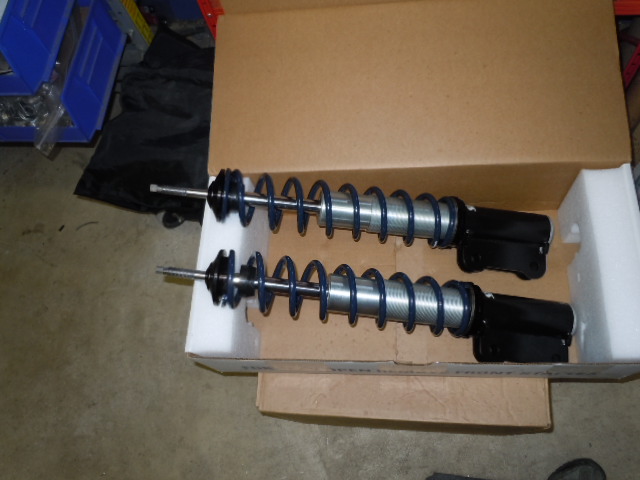
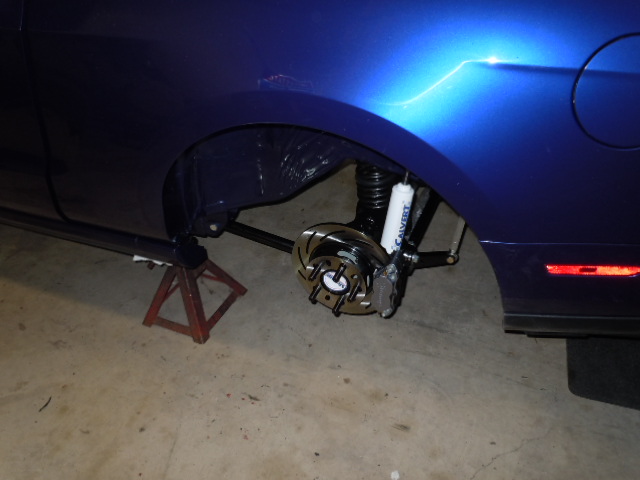
Front struts assembled and ready to install.
Interior panels installed in back seat area.
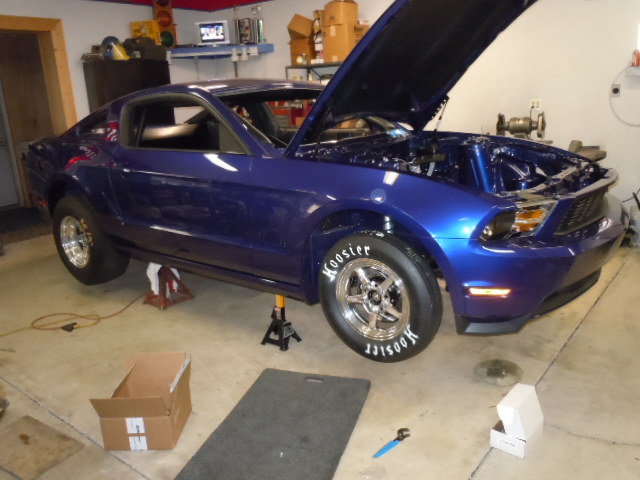
Moched up with wheels and tires.
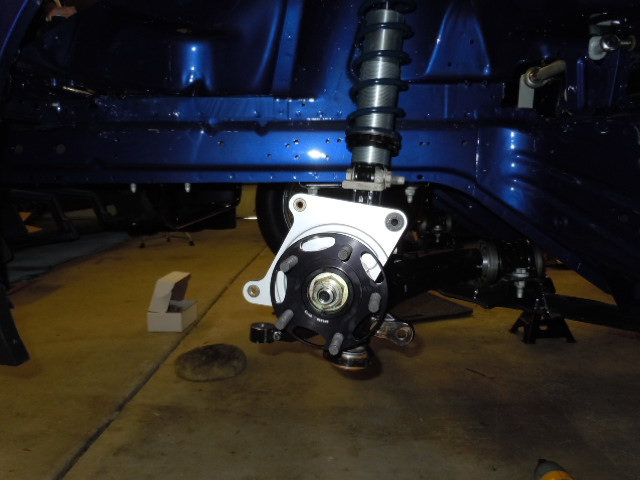
Caliper bracket installed.
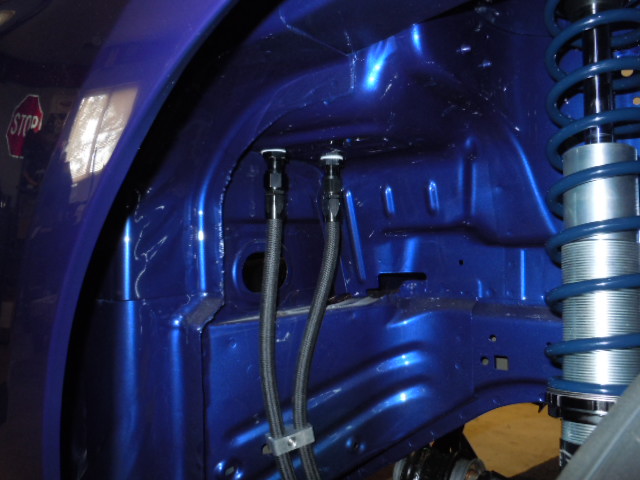
Fuel lines installed on the body.
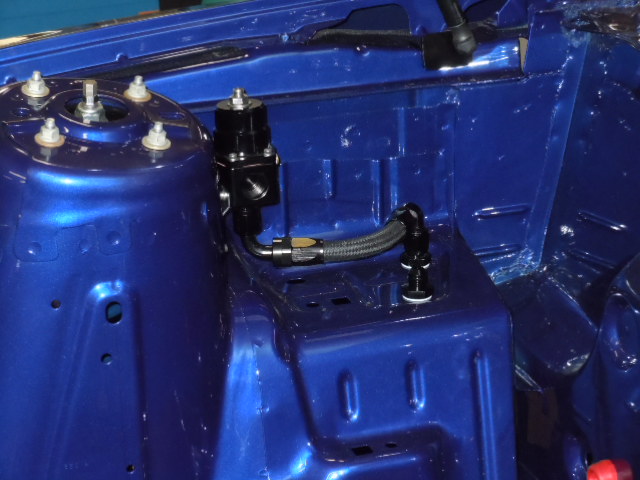
Aeromotive fuel regulator.

Fitting the BigStuff EFI harness to the engine.
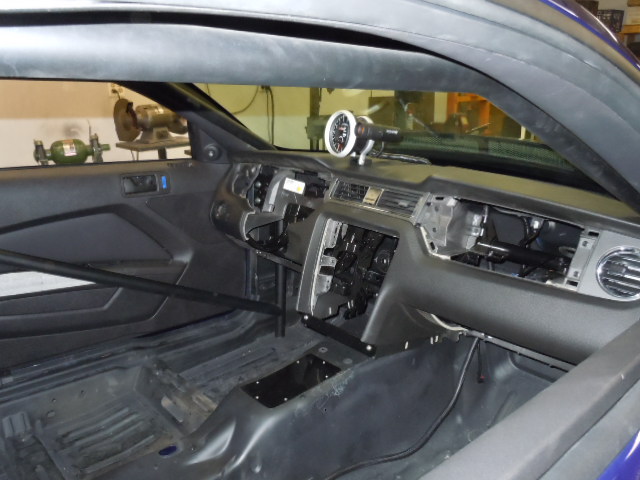
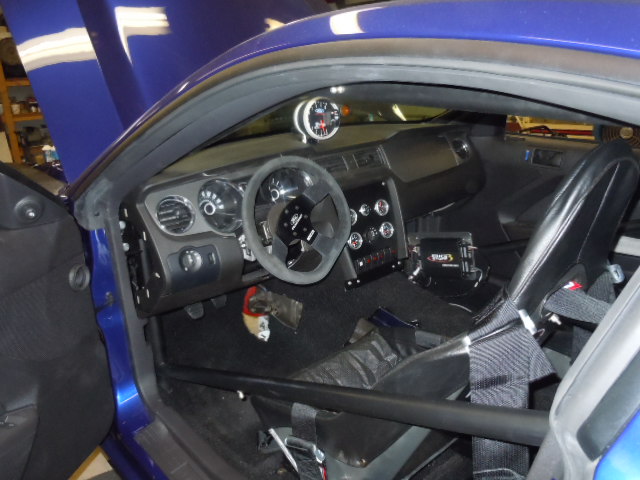
Dashboard bolted in and tach mounted.
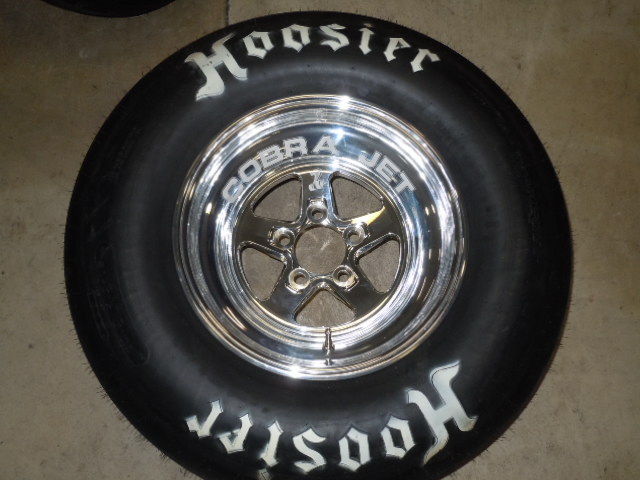
9 inch wide Hoosier tires mounted on CobraJet wheels.
I modified the Moroso inline radiator cap so I could pickup up temperature for the BigStuff ECU and the electric water temp gauge. The Coyote cylinder heads don't really have any threaded holes or even any good places to drill and tap a threaded hole to mount a temperature sensor.

I bent and fit two panels to cover and flatten out the back seat area to make it easier to lay a piece of carpet back there.
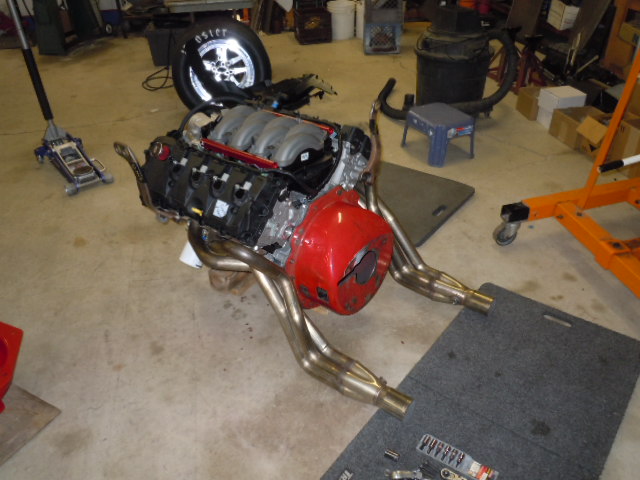
American Racing Headers moched up on engine. The Lakewood bellhousing is only temporary. I will be using a Browell bellhousing.
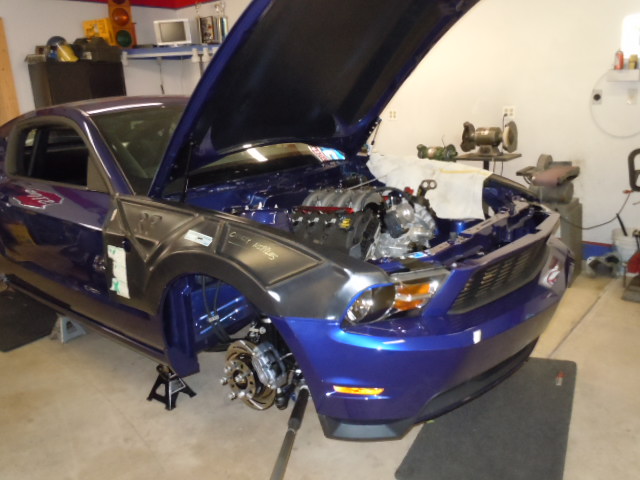
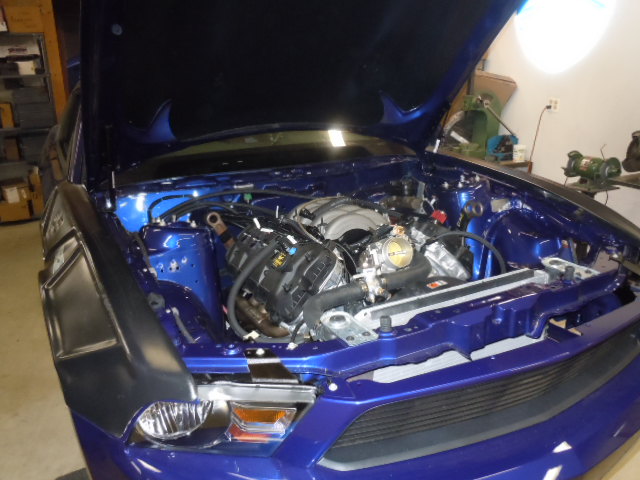
Engine set in car for moch up purposes. I will most likely come back out in a few days after I fit the fuel lines from the rails to the regulator and a few other items.

Engine moched up in car.
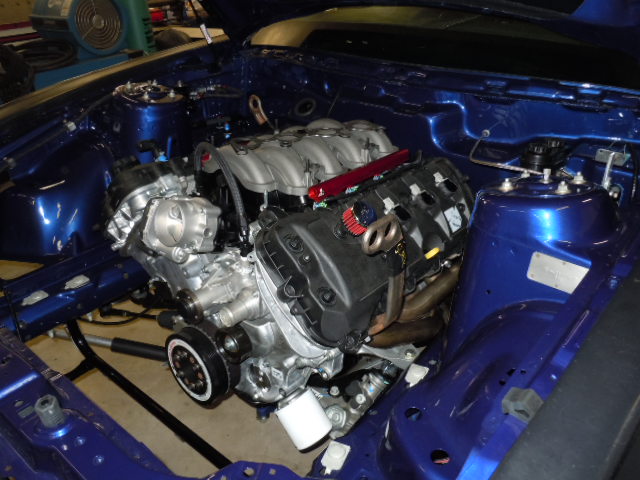
Engine moched up in car.
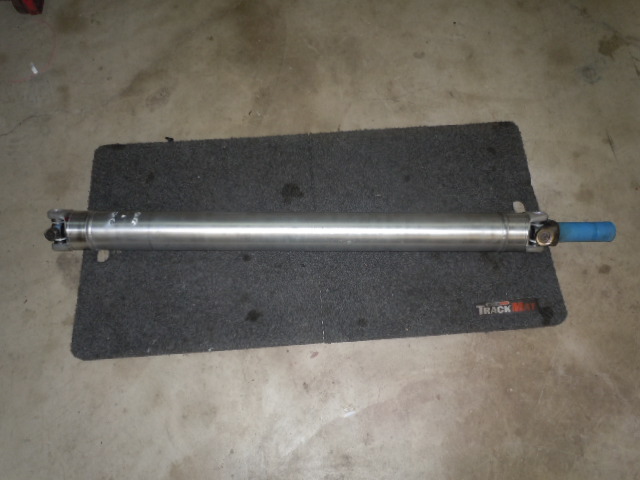
4 inch aluminum driveshaft from Raven Engineering.

I fabricated an aluminum bracket to mount the overflow bottle on the radiator tank.
Radiator in the car.
Carpet and seats now in for good.
View of carpet and seats from drivers side. I found a new carpet that did not have any cut outs in it. I then cut holes for the removeable shifter covers.
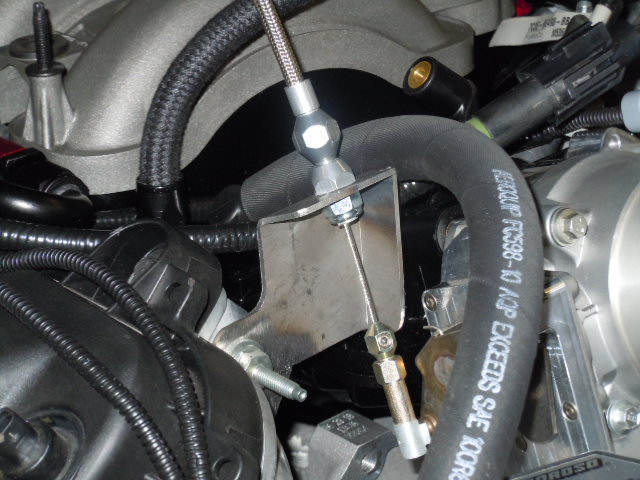
I fabricated a throttle cable bracket since I am not using the drive by wire.
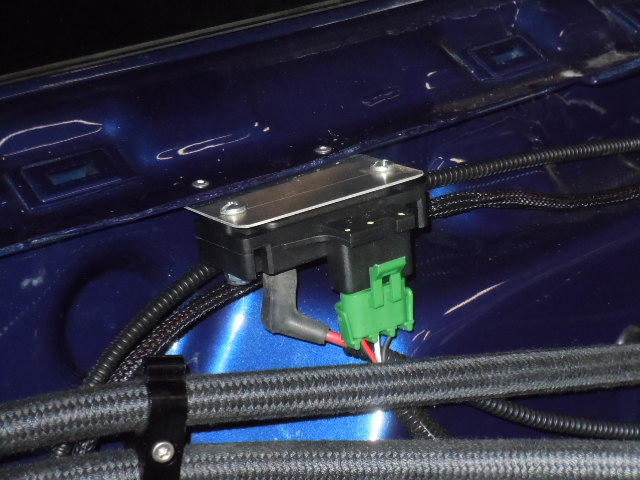
I fabricated a small aluminium bracket to attach the BigStuff map to the firewall seam.
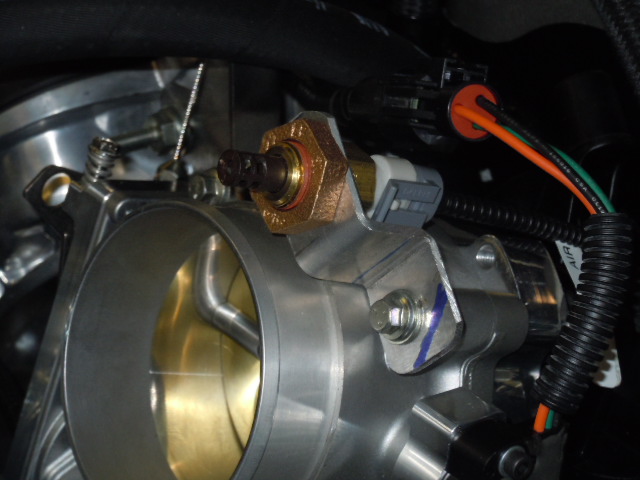
I fabricated a small aluminium bracket to hold the BigStuff ain intake temperature sensor right abouve the throttle body opening.
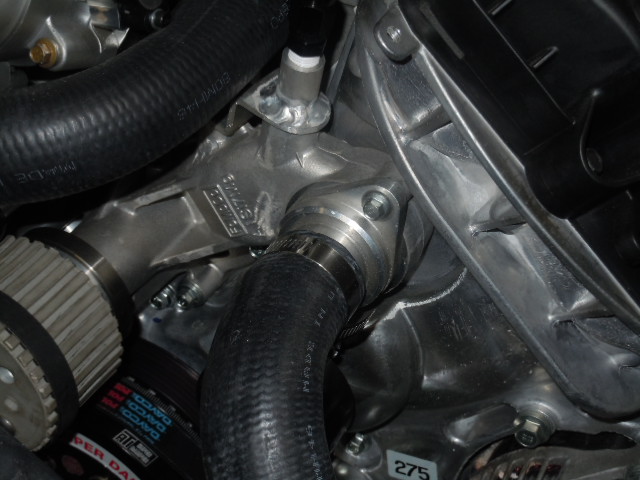
I removed the OEM thermostat housing and modified the goose neck to attach directly to the water pump housing.

Pieced together to 90 degree hoses to make a lower radiator hose.
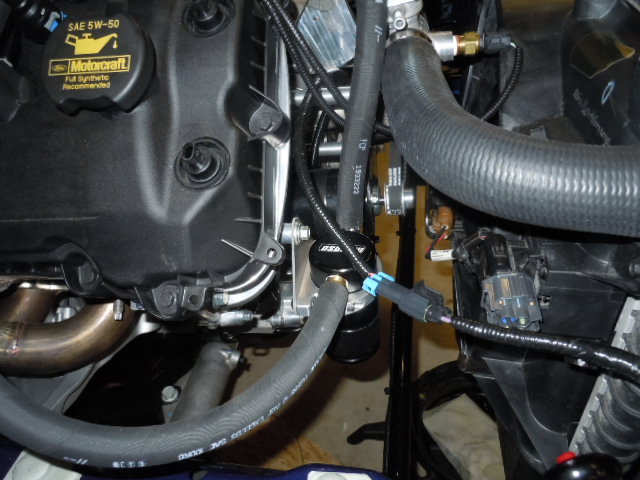
From here you can see the Moroso pcv filter and the electric water pump drive motor.
Here is the bracket to hold the electric water pump drive motor.

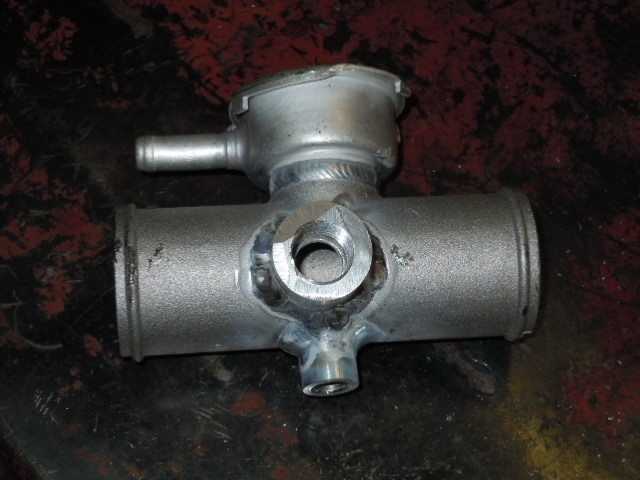
Fuel sample valve.
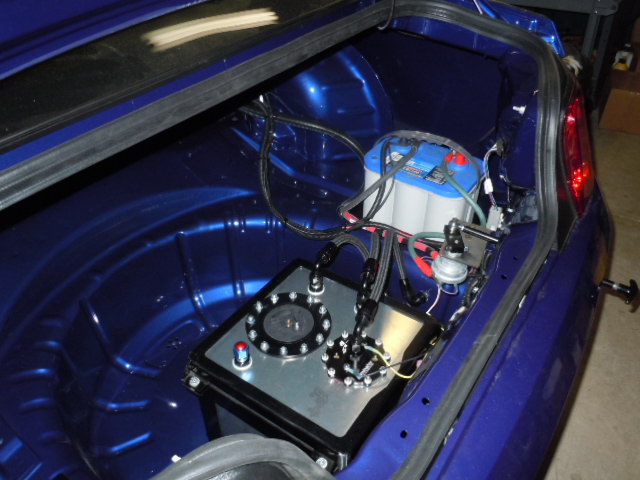
Battery in the trunk with cables attached. Still need to route and clamp down cables.
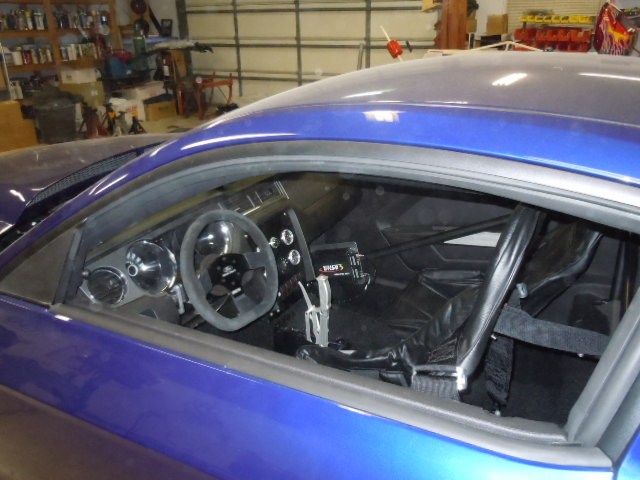
Long Shifter installed and adjusted;
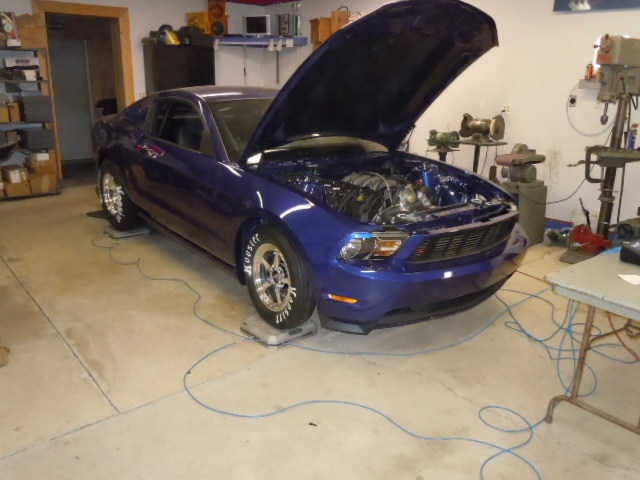
Car up on scales. Pinion angle set to 2.5 degres down and preload put in anti roll bar.
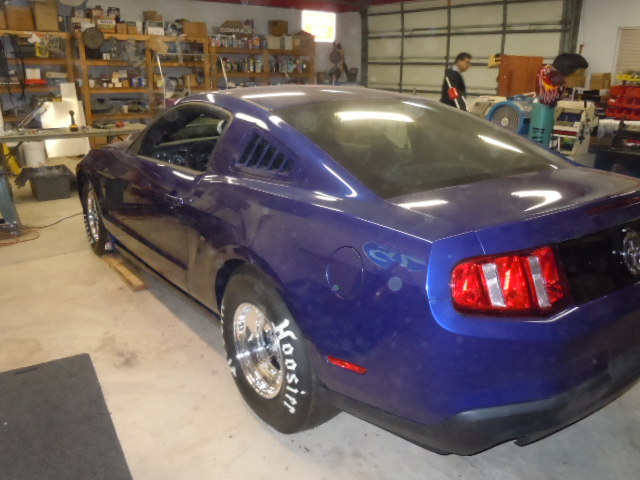
On the ground.
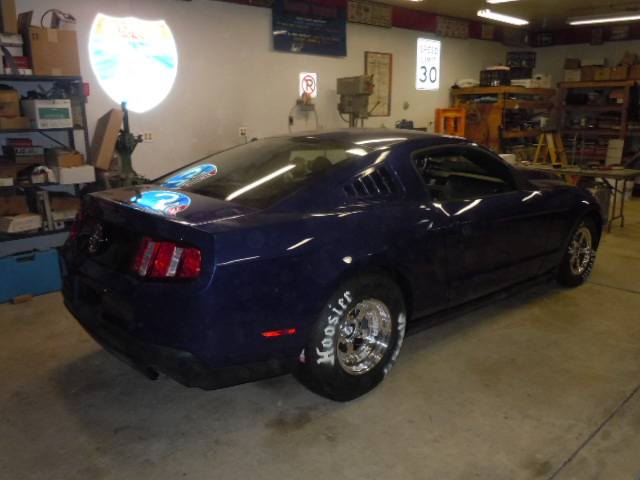
On the ground.
Still need to check / set the front end alignment.
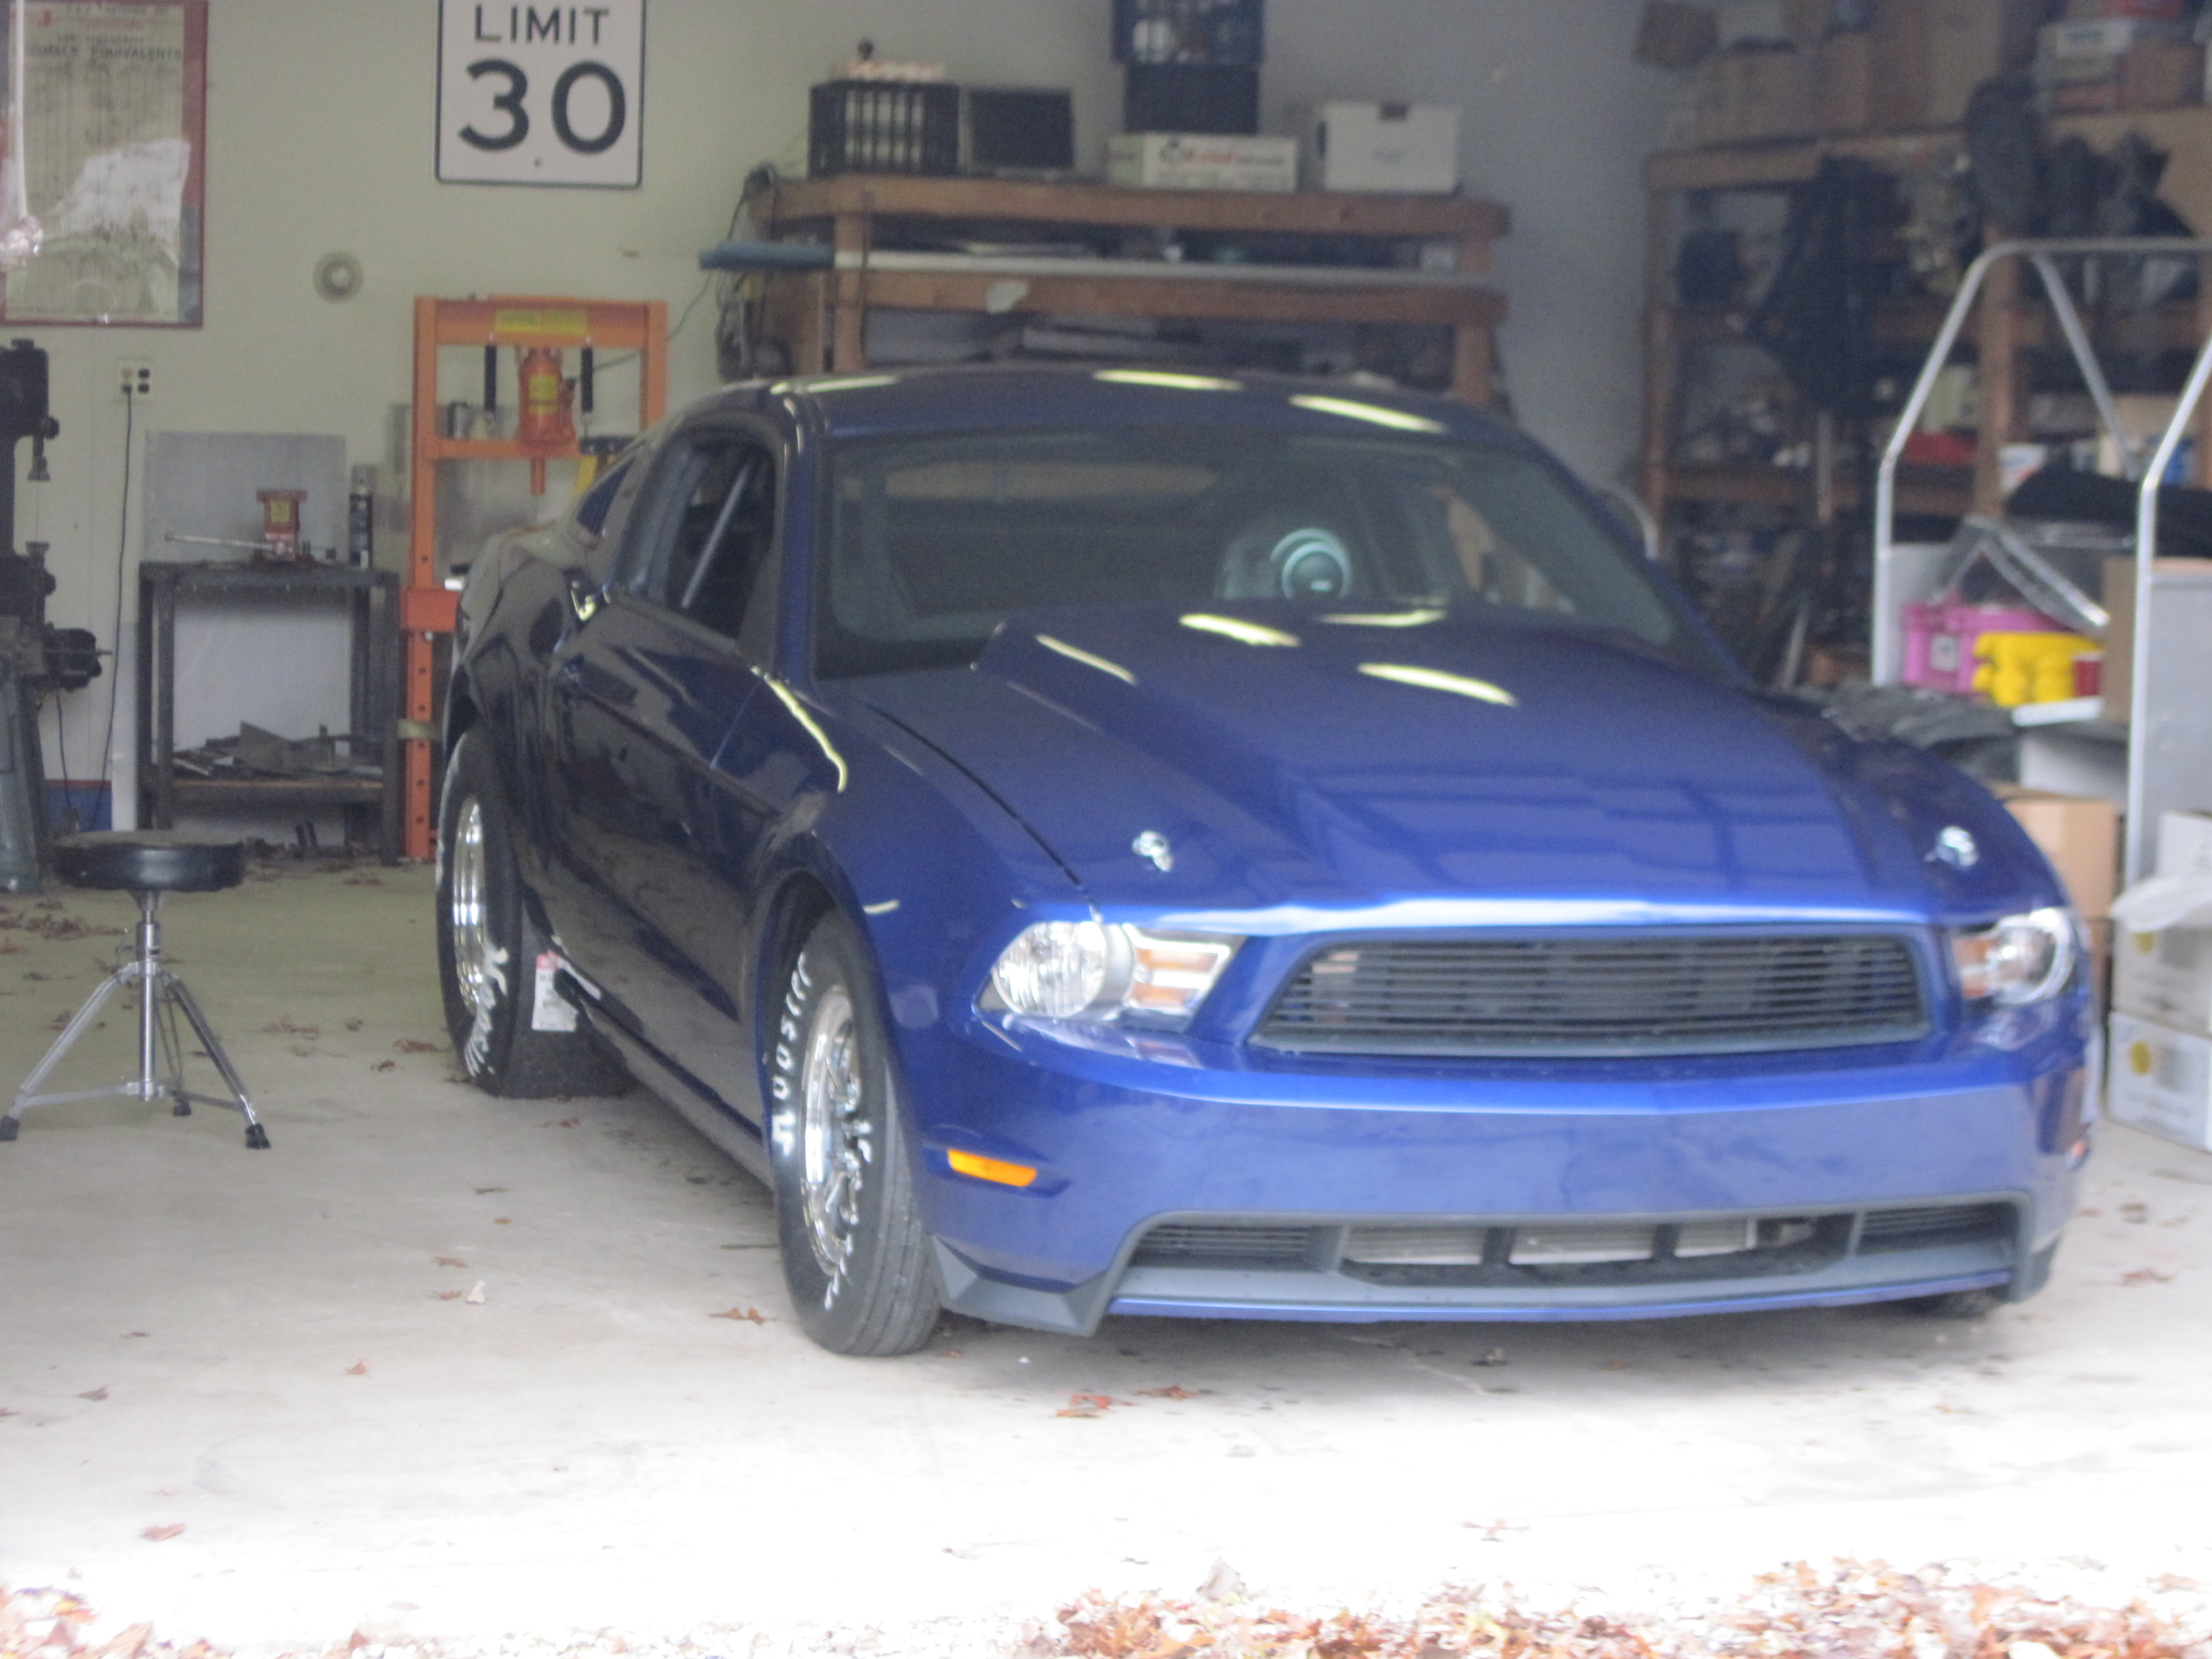
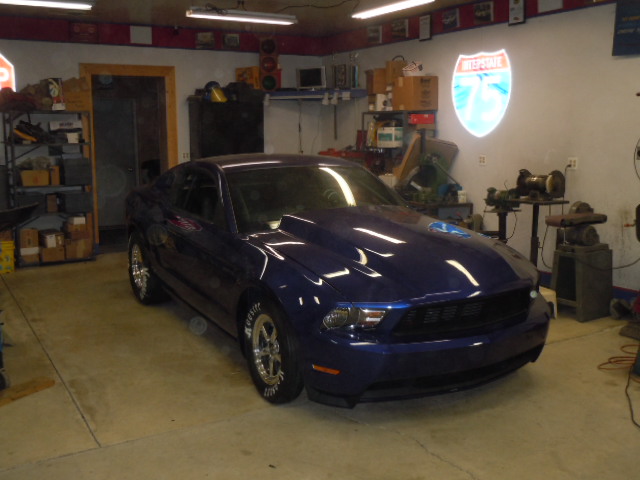
Ready to go testing.
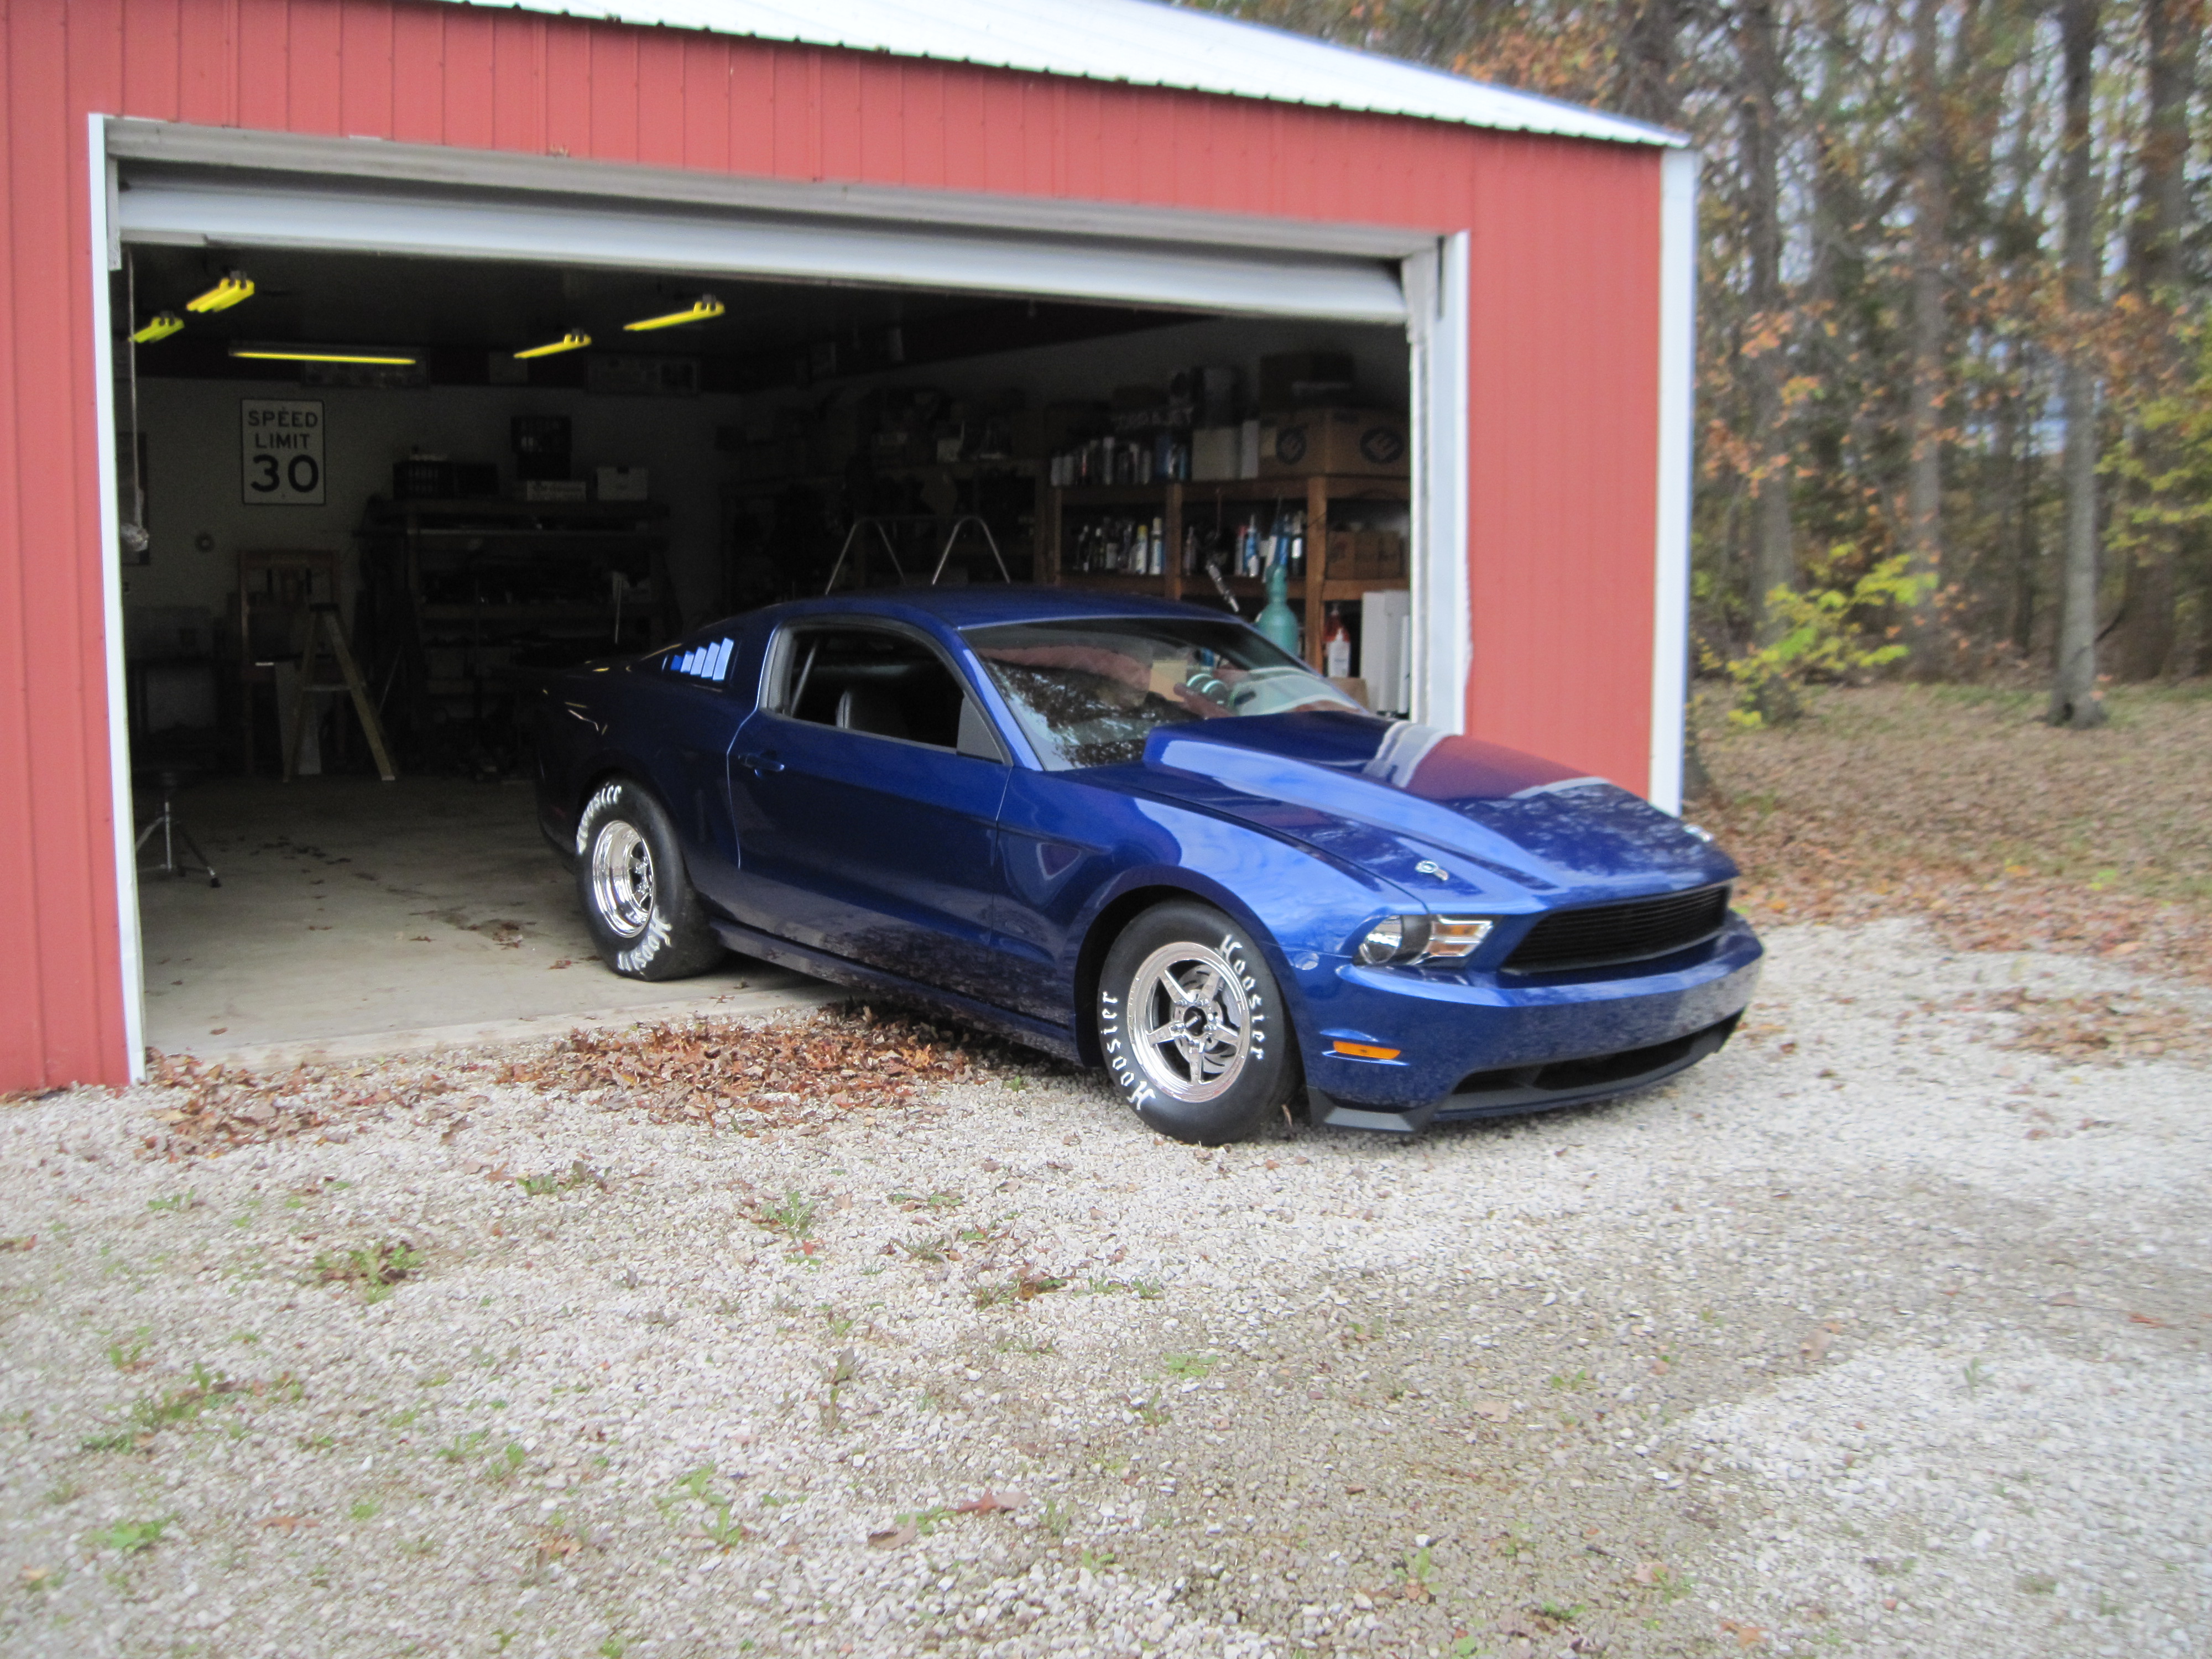
Pulling out of the shop.
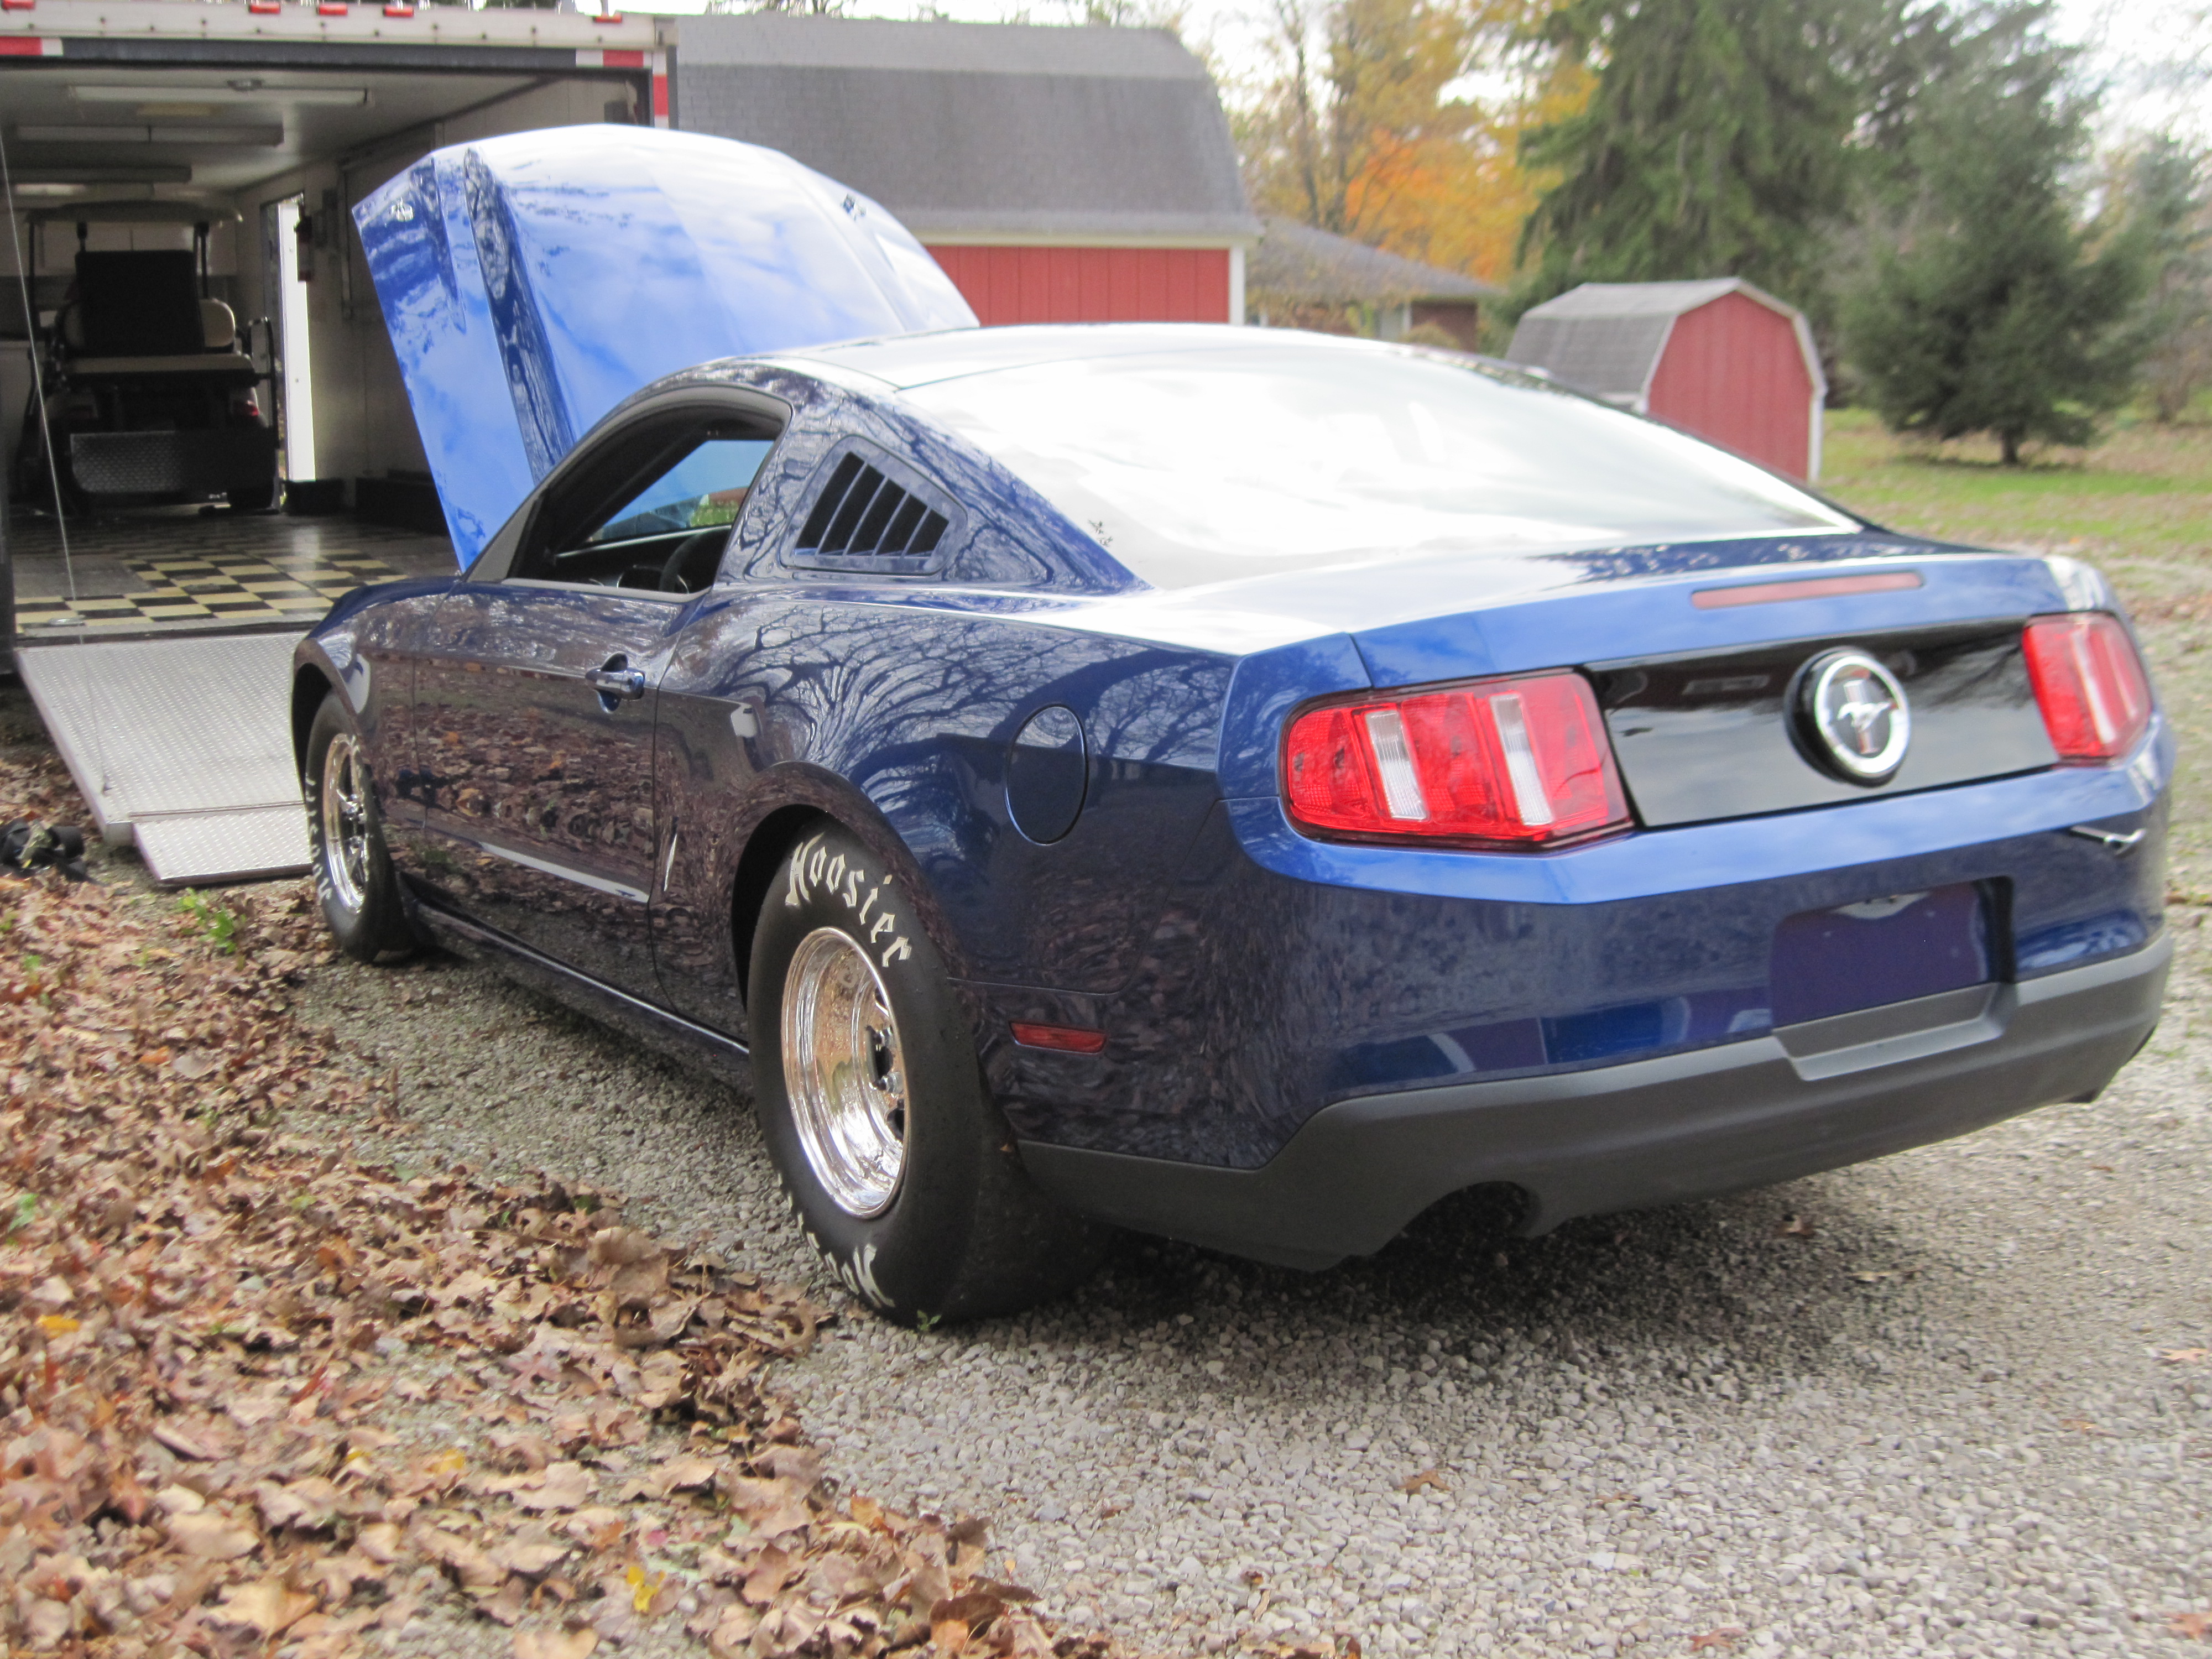
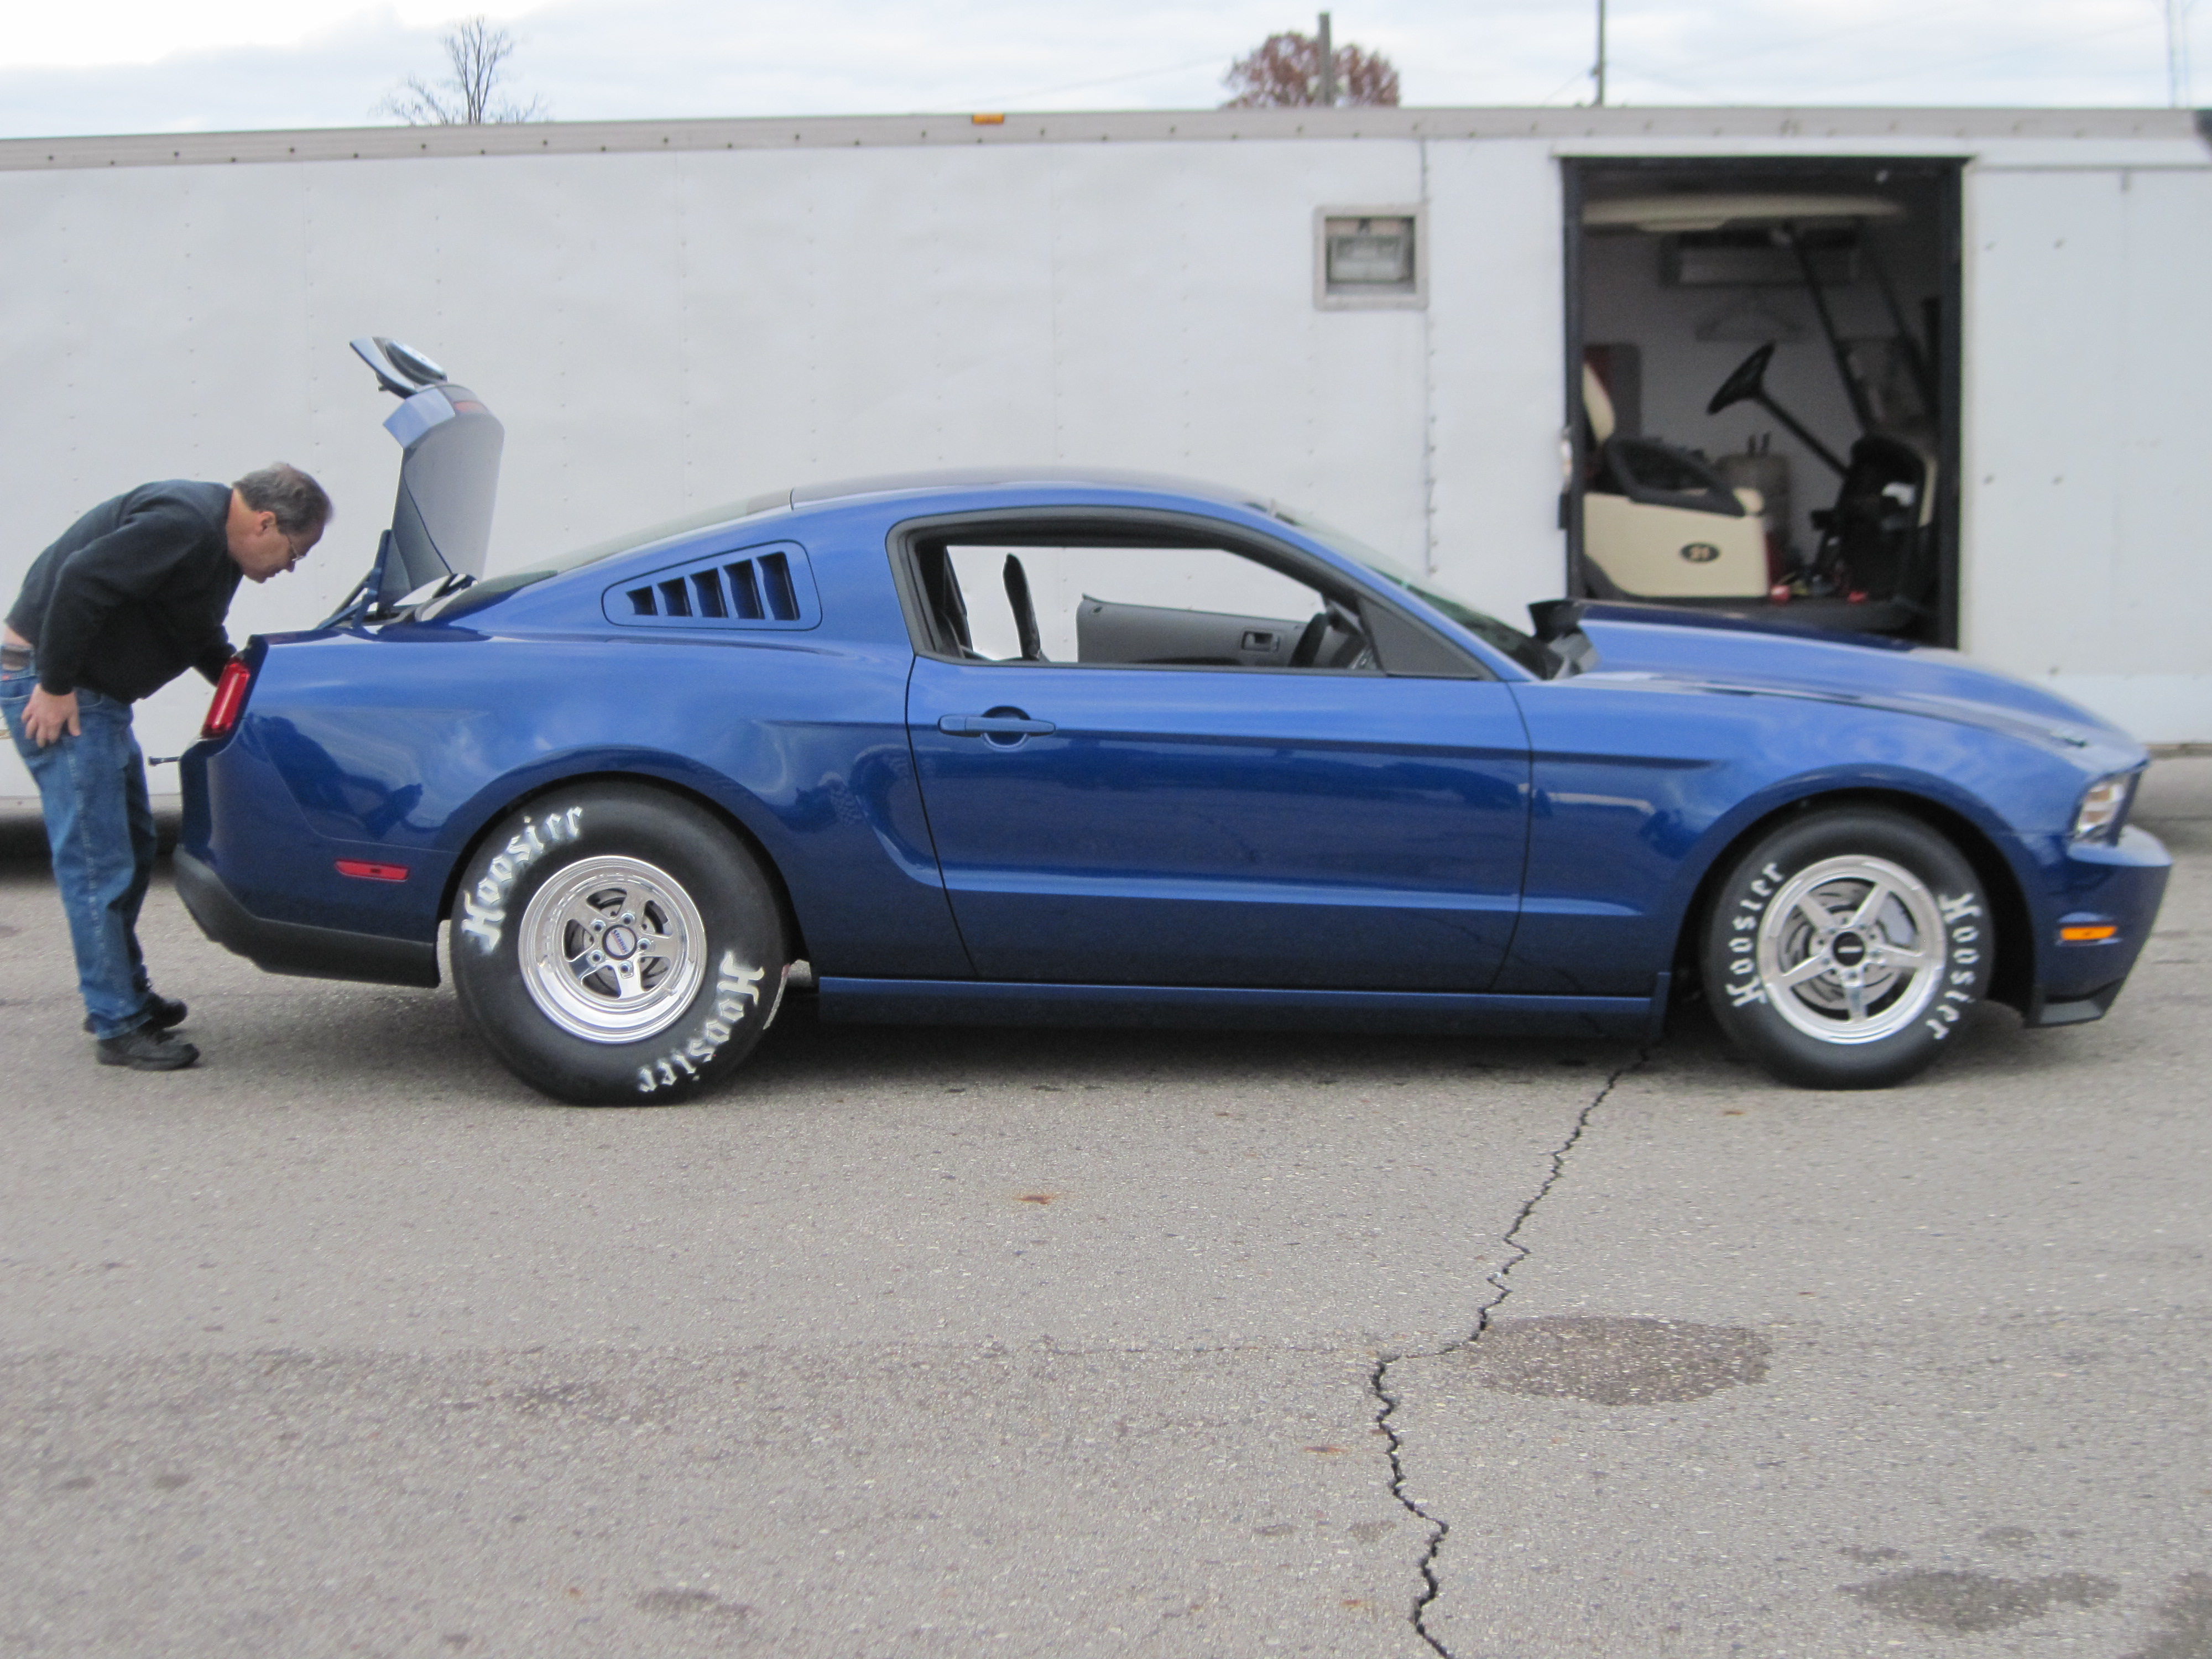
Loading in the trailer.
Check the fuel level.
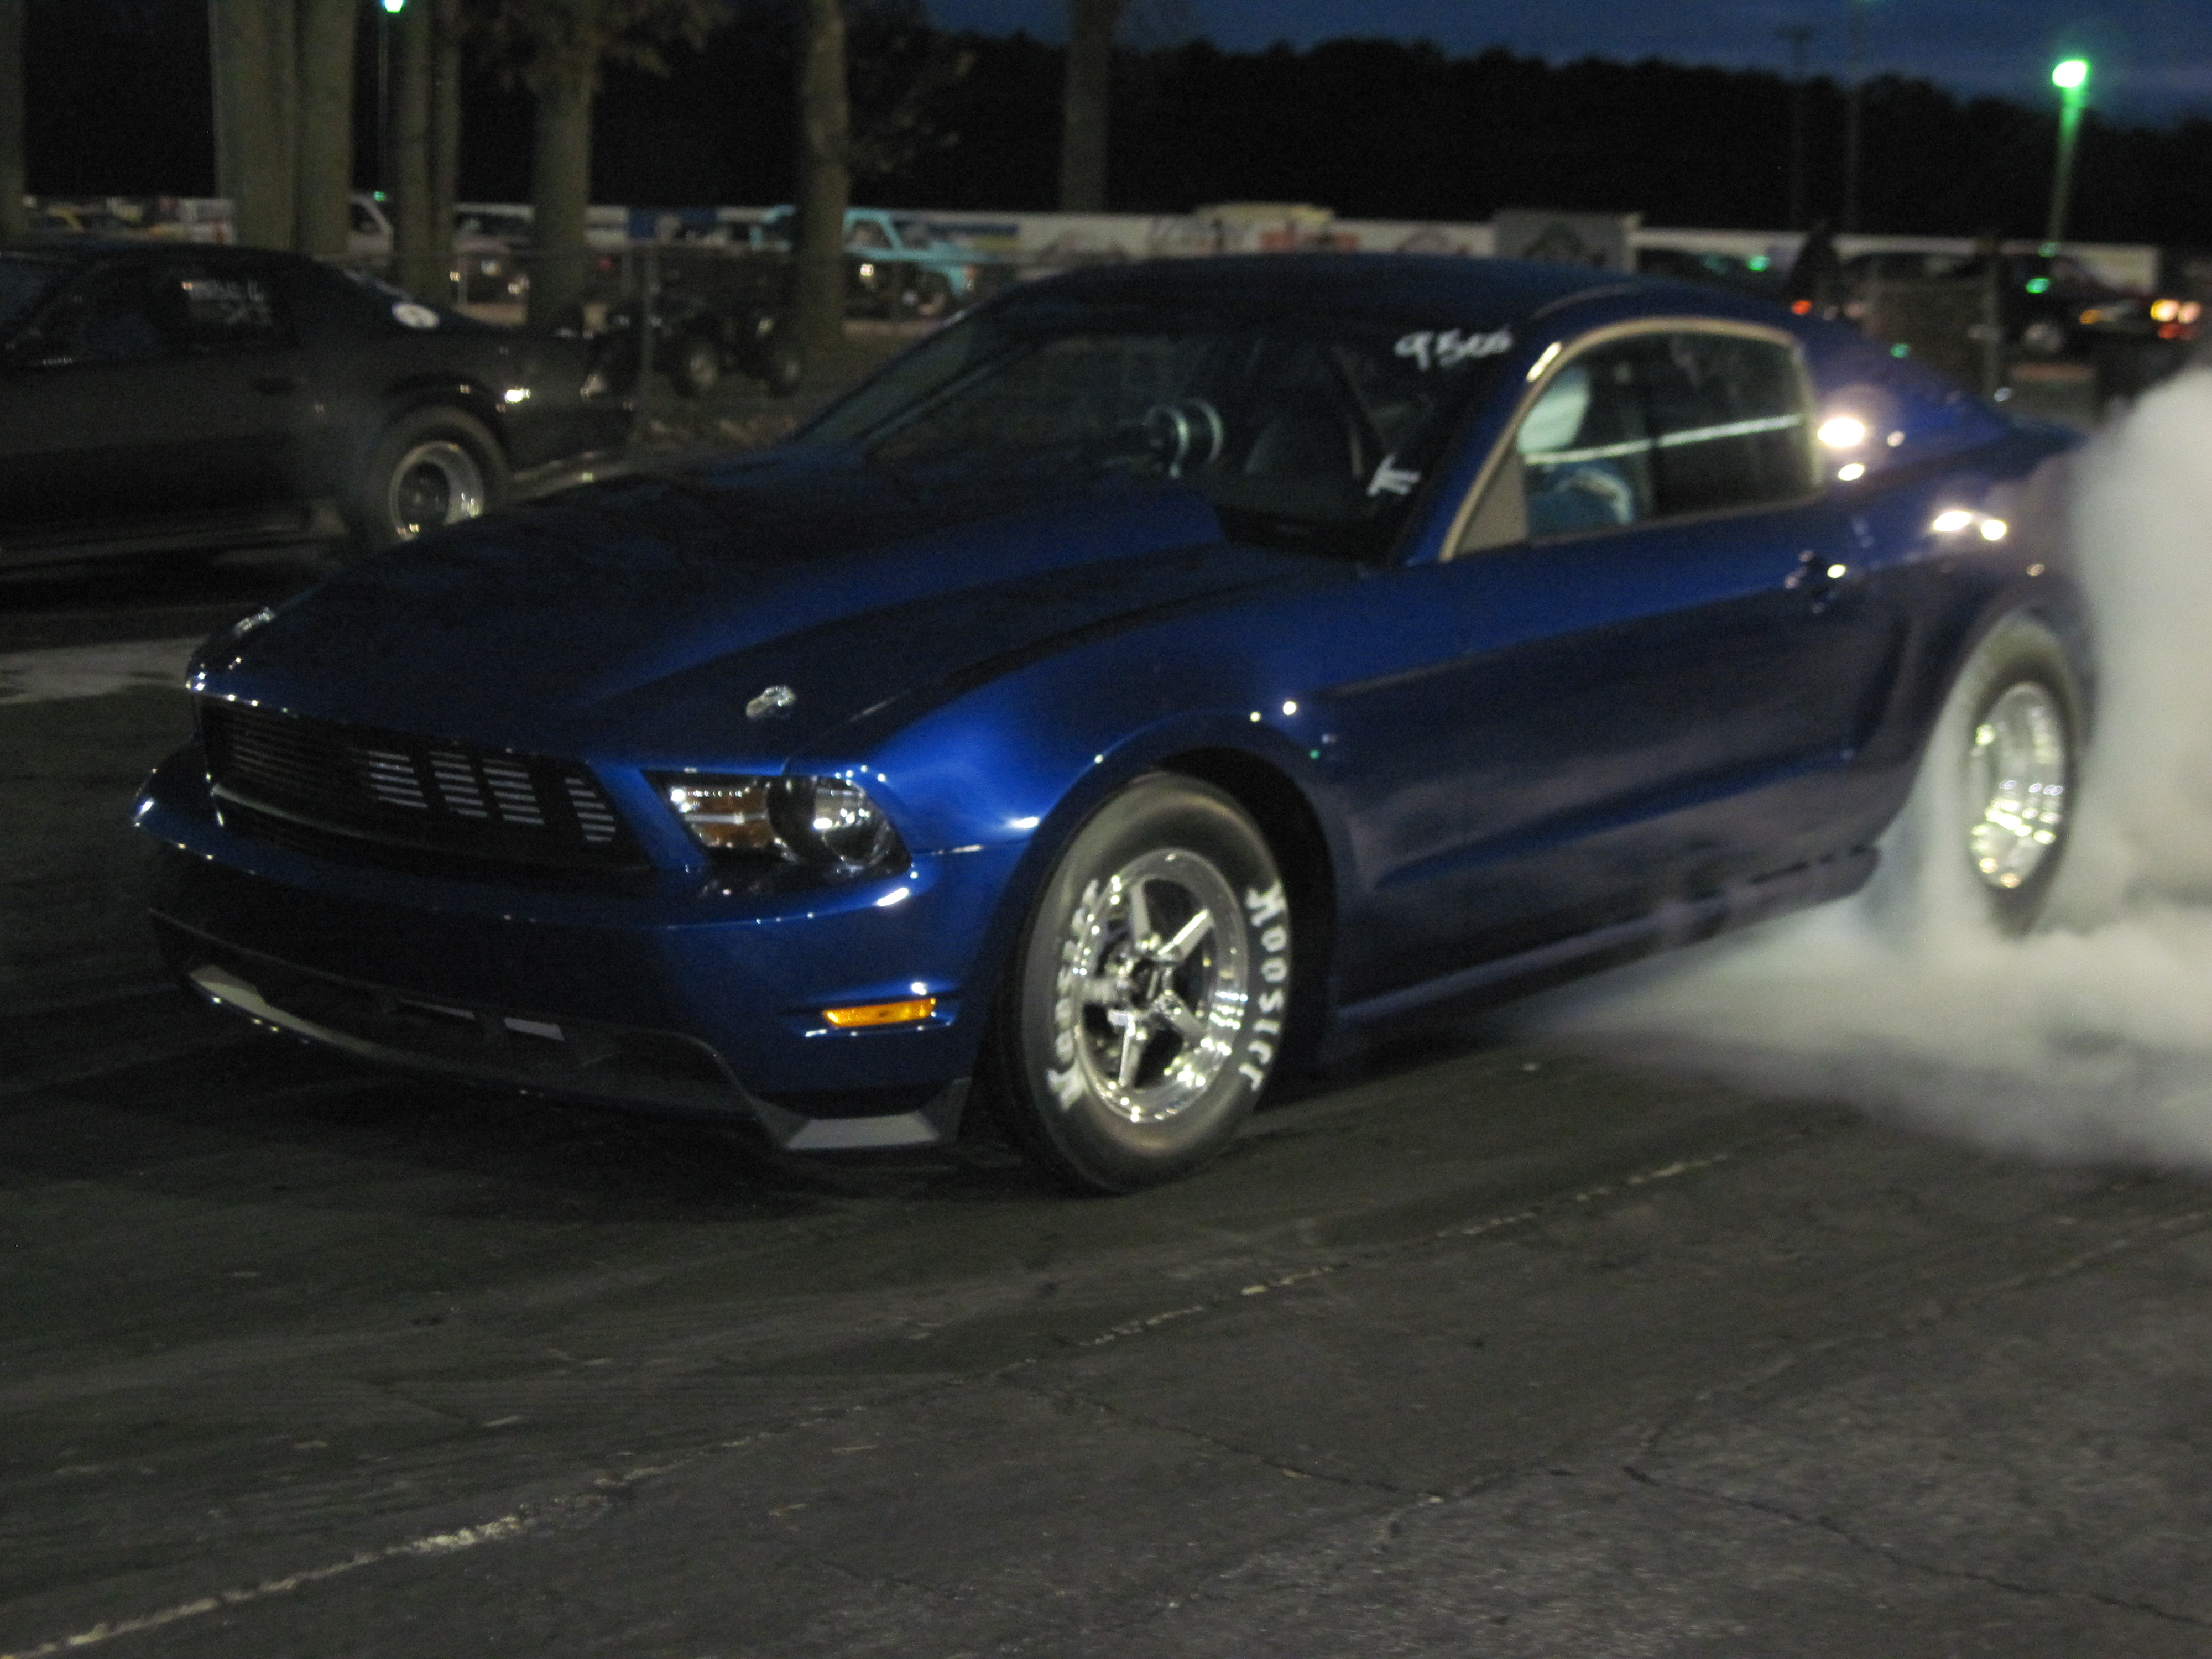
Second run burnout.